You're probably in one of two places right now. Either you're tired of making compromises with supermarket coffee and want a proper home barista setup, or you've already started looking and found yourself buried under machines, grinders, tampers, kettles and advice that seems to assume you've got an unlimited budget and a huge kitchen.
The primary need isn't more options. It's a plan.
A good home barista setup isn't just a shopping list. It's a small working system built around your space, your routine, your budget and the drinks you make. Get that right and even a modest setup feels satisfying to use. Get it wrong and an expensive machine becomes clutter that's awkward to live with.
Table of Contents
- From Kitchen Counter to Café Corner
- Planning Your Space and Workflow
- Choosing Your Core Equipment for Your Budget
- Essential Accessories That Make the Difference
- Fuelling Your Setup Water and Beans
- Your First Brew Setting Up and Calibrating
- Your Rewarding Coffee Journey Begins
From Kitchen Counter to Café Corner
The appeal is easy to understand. You want to walk into the kitchen and make coffee that feels deliberate, not improvised. A proper espresso in the morning. A flat white that doesn't taste thin. A setup that works smoothly without dragging half the cupboard onto the worktop.
That's all realistic, but only if you treat your home barista setup like a practical project.
The biggest mistake I see is buying the machine first and trying to solve everything else afterwards. People end up with a grinder balanced near the toaster, beans tucked in a humid corner, milk nowhere near the station, and cables stretching across the counter. The coffee can still be decent, but the routine becomes irritating fast.
Practical rule: Build the station around daily movement, not around the machine photo you liked online.
A strong setup does three things well:
- Fits the room: It respects the space you've got, especially in a typical UK kitchen where every bit of counter matters.
- Matches your drinks: If you mostly drink espresso, your priorities differ from someone making milk drinks for two people every morning.
- Keeps variables under control: Grinder quality, water, puck prep, milk handling and cleaning all matter more than flashy extras.
There's also a budget truth worth saying plainly. Spending more can improve convenience, temperature stability, build quality and steaming performance, but price alone won't rescue a badly planned station. A modest machine with a capable grinder and sensible workflow often beats an expensive machine paired with weak prep and poor habits.
Planning Your Space and Workflow
The best home barista setup starts with a tape measure, not a credit card.
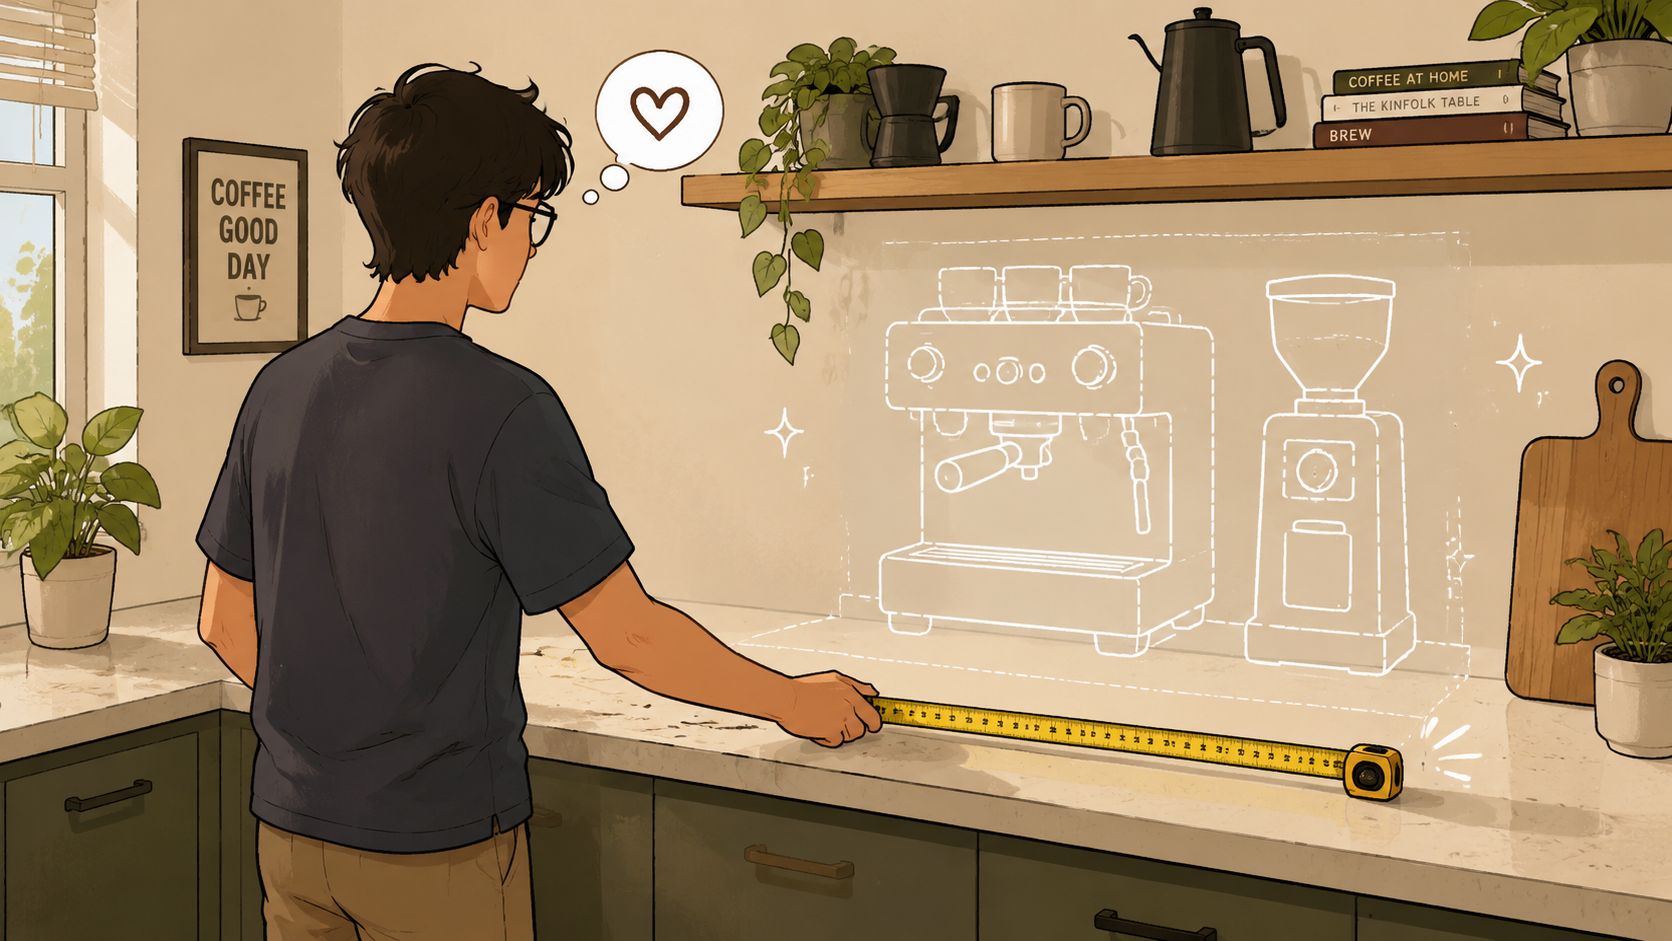
Start with the footprint
Industry guidance recommends 24–30 inches of counter space for a minimal pour-over setup, 36–48 inches for an espresso setup with a grinder, and 4–6 feet for a full home espresso bar, which is why measuring first matters so much in compact kitchens (Mahlkönig home coffee station guidance).
Those measurements tell you something useful straight away. Espresso takes more room than is typically assumed, not because the machine is huge, but because the setup includes the grinder, tamper, scale, knock box, cups, milk jug and enough elbow room to work cleanly.
Before you choose any equipment, check these points:
- Counter depth: Make sure the machine and grinder don't push you right to the edge of the worktop.
- Cup clearance: Some machines fit under cabinets poorly once you try to fill the water tank or warm cups.
- Socket access: You don't want extension leads trailing behind a steam wand.
- Sink distance: If clean-up is awkward, your station will get messy quickly.
If you're still deciding where the setup should live, this guide on how to choose a coffee machine is useful because it helps frame the machine around the practical setting, not just features.
Build a workflow that feels natural
A coffee corner should move in a simple line. Beans out. Grind. Brew. Steam. Serve. Clean.
In a home kitchen, I'd map the route like this:
- Storage near the grinder for beans, scales and prep tools.
- Machine beside the grinder so you're not carrying a loaded portafilter across the room.
- Fridge access nearby if milk drinks are part of the routine.
- Sink or waste point within easy reach for rinsing the basket, the jug and the steam wand.
A cramped setup doesn't just slow you down. It encourages shortcuts, and shortcuts are where messy puck prep and inconsistent drinks start.
Space trade-offs that are worth making
If you're tight on room, choose fewer pieces that work better instead of more gadgets. A clean, compact station with a good grinder and a proper scale is easier to use than a crowded “coffee bar” full of accessories you never touch.
A few layout choices usually pay off:
- Keep the grinder dominant: It needs the most active use, so don't hide it in a corner.
- Leave landing space: You need a small clear patch for dosing, tamping and setting cups down.
- Store vertically when you can: Shelves or trays help free counter space without disrupting the main workflow.
Many people imagine the dream setup as a feature wall. In practice, the dream is a station that feels calm at 7am.
Choosing Your Core Equipment for Your Budget
Most buying decisions go wrong due to a common mistake. People compare machines against machines and forget the pairing. Your grinder and machine need to suit each other. A weak grinder will limit a strong machine far more than most beginners expect.
When you're comparing options, think in terms of control, recovery time, steam performance and how much effort you want from the routine. If you want a broader machine comparison before narrowing your shortlist, this guide to the best home espresso machine in the UK is a sensible next read.
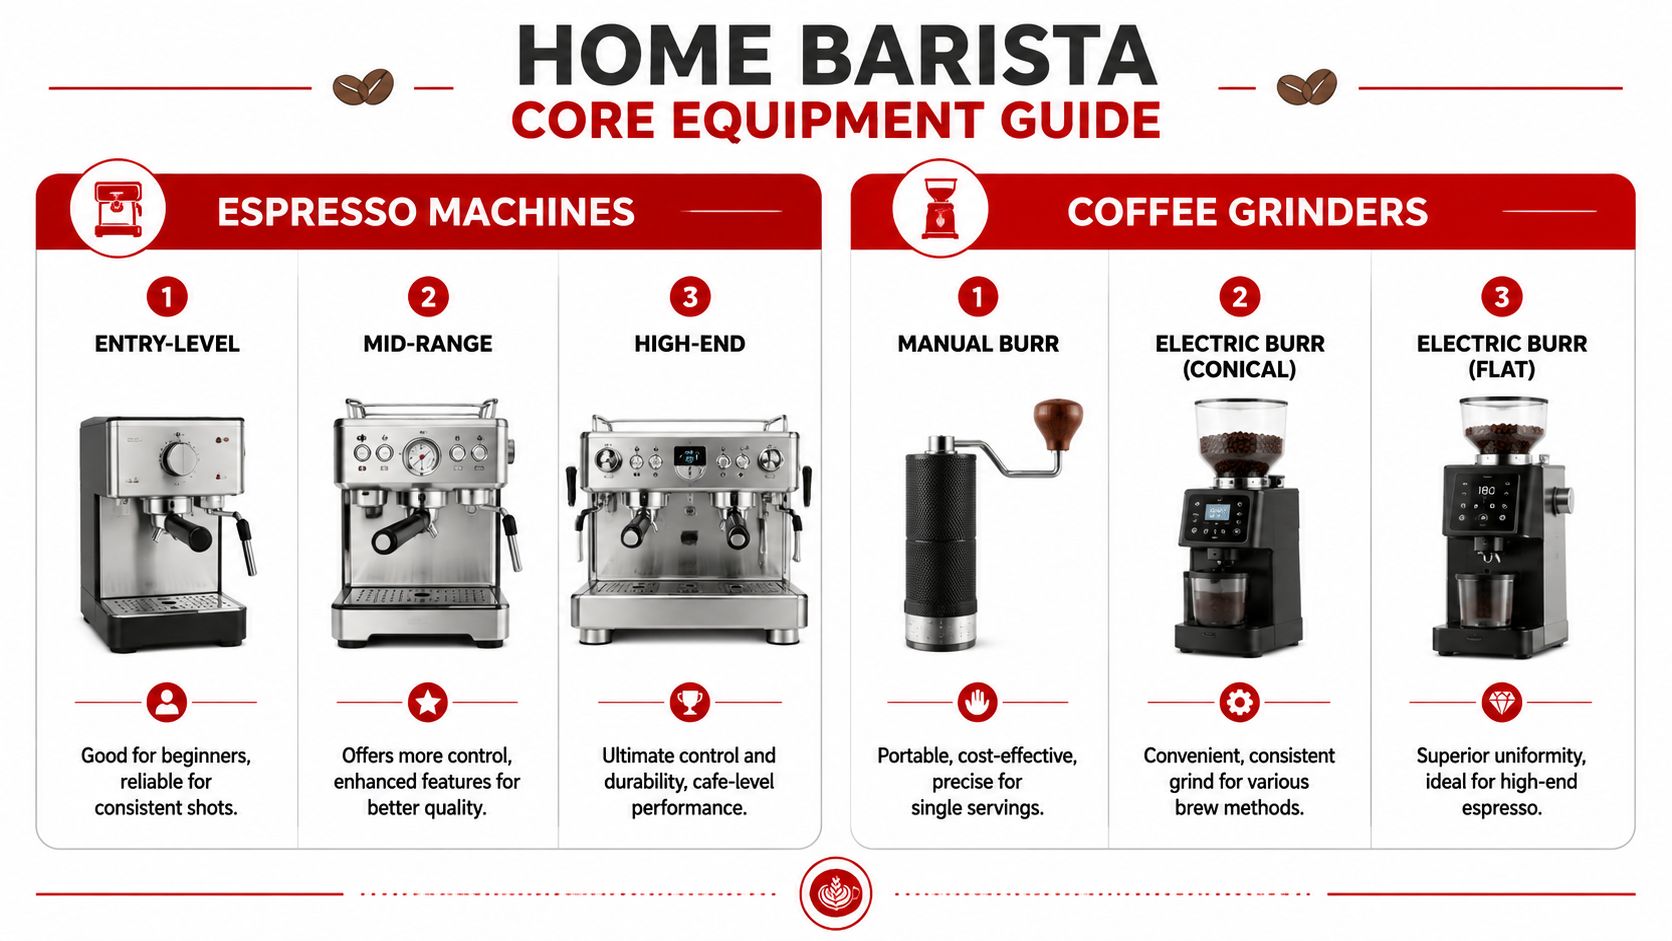
The starter setup under £500
At this level, you're building for good fundamentals rather than luxury.
You'll usually be looking at a basic pump espresso machine paired with either a manual burr grinder or an entry electric burr grinder. The aim isn't café theatre. The aim is repeatable coffee and a simple learning curve.
What tends to work well
- Single-boiler or compact pump machines: Fine for one or two drinks at a time.
- Manual or entry electric burr grinders: Better than blade grinders and much easier to dial in sensibly.
- Simple controls: Helpful when you're still learning dose, yield and time.
What the trade-offs look like
- Steam performance is slower: Making several milk drinks back to back can feel clunky.
- Temperature recovery can be less forgiving: You may need a bit more patience between tasks.
- Build quality varies: Lightweight machines can feel less planted during locking in and steaming.
This tier makes sense if espresso is new to you, you're short on space, or you want a capable setup without committing heavily up front. I'd still put more of the budget into the grinder than most first-time buyers instinctively want to.
The enthusiast workhorse £500 to £1500
This is the sweet spot for many homes. You start to get equipment that feels less like an appliance and more like a tool.
Machines here often offer better thermal behaviour, stronger steaming, more stable internals and nicer ergonomics. Grinders become notably more precise and easier to adjust, which matters because espresso improves when small grind changes are possible.
A practical way to judge this tier is by how the station feels over a normal week. Can it handle weekday speed and weekend tinkering? Can it make two milk drinks without becoming a stop-start exercise? Does the grinder let you make small corrections without overshooting?
| Priority | What to look for | Why it matters |
|---|---|---|
| Daily espresso | A machine with stable performance and a proper espresso-focused burr grinder | Easier shot repeatability |
| Milk drinks | Stronger steam and better workflow between brewing and steaming | Less waiting and less frustration |
| Long-term use | Better fit and finish, easier cleaning, more solid controls | The station stays enjoyable to use |
Spend for consistency first. Spend for cosmetic extras later.
The prosumer dream over £1500
This is the tier for people who know the routine will become a real hobby, or for households making several coffees a day and wanting fewer compromises.
You're usually buying heavier build quality, more thermal stability, better steam power, cleaner workflow and longer-term durability. The grinder discussion also changes here. Once the machine is strong enough, grinder precision becomes even more important because you can taste and feel those differences in the cup and in the flow.
There's a common misconception that this tier is only about status. It isn't. The gain is that the equipment gets out of your way. It recovers faster, responds more predictably and asks less patience from the user.
Still, this tier isn't automatically the right buy. If your kitchen is small, you only make occasional coffee, or you don't enjoy the process side of espresso, a prosumer setup can be expensive overkill.
Where to put the money first
If the budget is tight, I'd prioritise in this order:
- First, the grinder: It affects espresso quality more than many entry buyers realise.
- Second, the machine: Choose one that fits your drinks and your kitchen rhythm.
- Third, workflow extras: Knock box, tamping mat, storage and shelves can follow.
That order keeps the setup grounded in results, not wishful buying.
Essential Accessories That Make the Difference
Machines get the attention. Accessories deliver the repeatability.
A home barista setup becomes easier to trust when the small tools remove guesswork. You don't need every gadget in the market, but there are a few pieces that stop espresso from feeling random.
Puck prep tools that tighten up consistency
Start with the basics. A good tamper, a scale with fine accuracy, and a Weiss Distribution Tool are the tools that earn their place every day.
For consistent espresso, a quality burr grinder is a fundamental requirement. Using a WDT to break up clumps before tamping can reduce the chances of a channelled, sour shot by over 60%, and a sensible starting recipe is a 1:2 ratio, such as 18g in and 36g out in about 28–32 seconds.
That sounds technical, but in practice it's simple. The WDT loosens clumps. The scale tells you whether your prep is repeatable. The tamper finishes the job with a level bed of coffee.
Useful items to keep close at hand:
- Digital scale: Look for one that reads in fine increments and fits under your cup.
- WDT tool: Especially helpful if your grinder tends to produce clumps.
- Solid tamper: It should feel balanced and fit your basket properly.
- Knock box: Small thing, big quality-of-life upgrade.
Milk tools that actually help
If you make cappuccinos, flat whites or lattes, your milk jug matters far more than most starter kits suggest.
For milk-based drinks, a 12oz stainless steel milk pitcher with a sharp spout is critical. The most common failure in home microfoam is overheating milk past 65°C, which destroys its sweetness. Using a thermometer and purging the steam wand for 2 seconds before steaming are simple habits that produce consistently silky results.
That's where proper milk jugs for coffee machines come into their own. The point isn't style. It's control, especially when you're trying to pour tighter texture rather than thick, bubbly foam.
If your milk keeps turning airy and coarse, blame the pitcher and the heat before blaming yourself.
Cleaning and upkeep
The final accessory group isn't glamorous, but it protects the whole station.
Keep a brush, cloths, suitable cleaning products and a routine for wiping the steam wand, clearing stray grounds and rinsing baskets. If your coffee corner gets grubby, flavours get muddy and the station becomes less enjoyable to use.
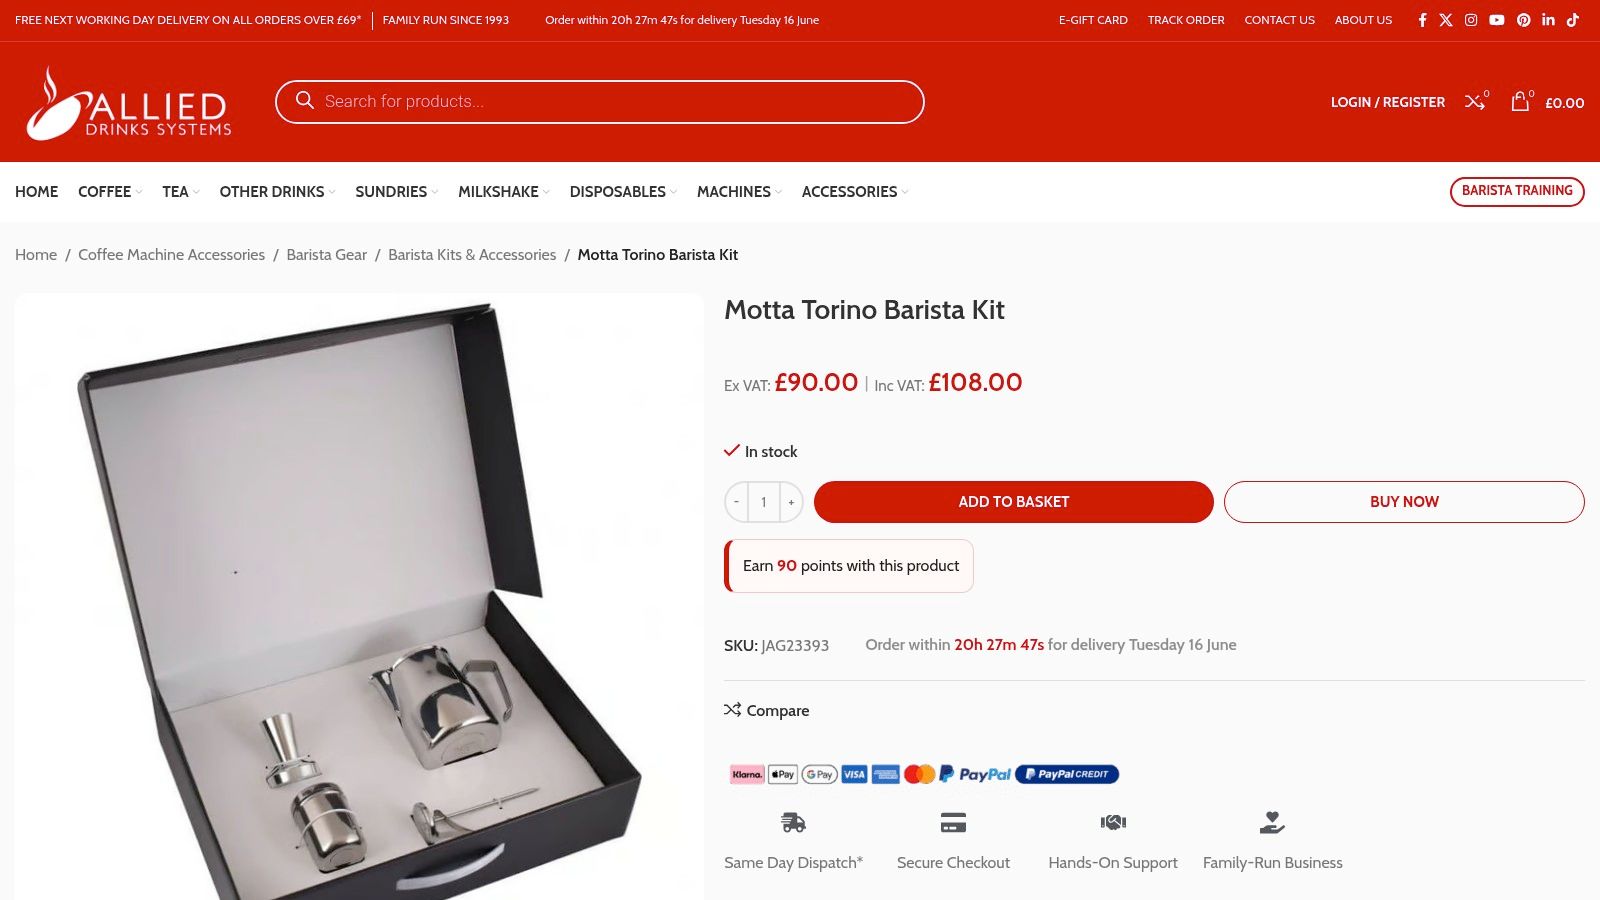
A bundled kit can make sense here. Allied Drinks Systems lists the Motta Torino Barista Kit as one option if you want several core bar tools together rather than sourcing each piece separately.
Fuelling Your Setup Water and Beans
A home barista setup lives or dies on ingredients. You can forgive average aesthetics. You can't hide poor water or stale beans.
Why water deserves your attention
In the UK, water is one of the most overlooked variables in home coffee. Taste is one reason to care. Machine health is the other.
If your local supply is hard, scale becomes a maintenance issue rather than a theory. For home milk drinks, water hardness averaging 150 ppm CaCO3 is noted as a reason filtration matters, helping prevent scale buildup in 60% of home machines within 12 months and reducing long-term maintenance costs by 35% when filtration is used.
For many homes, a basic filter jug is a sensible minimum. If your kitchen already has broader filtration concerns, it's worth understanding whole home water systems so you can see where coffee-specific filtration fits into the bigger picture.
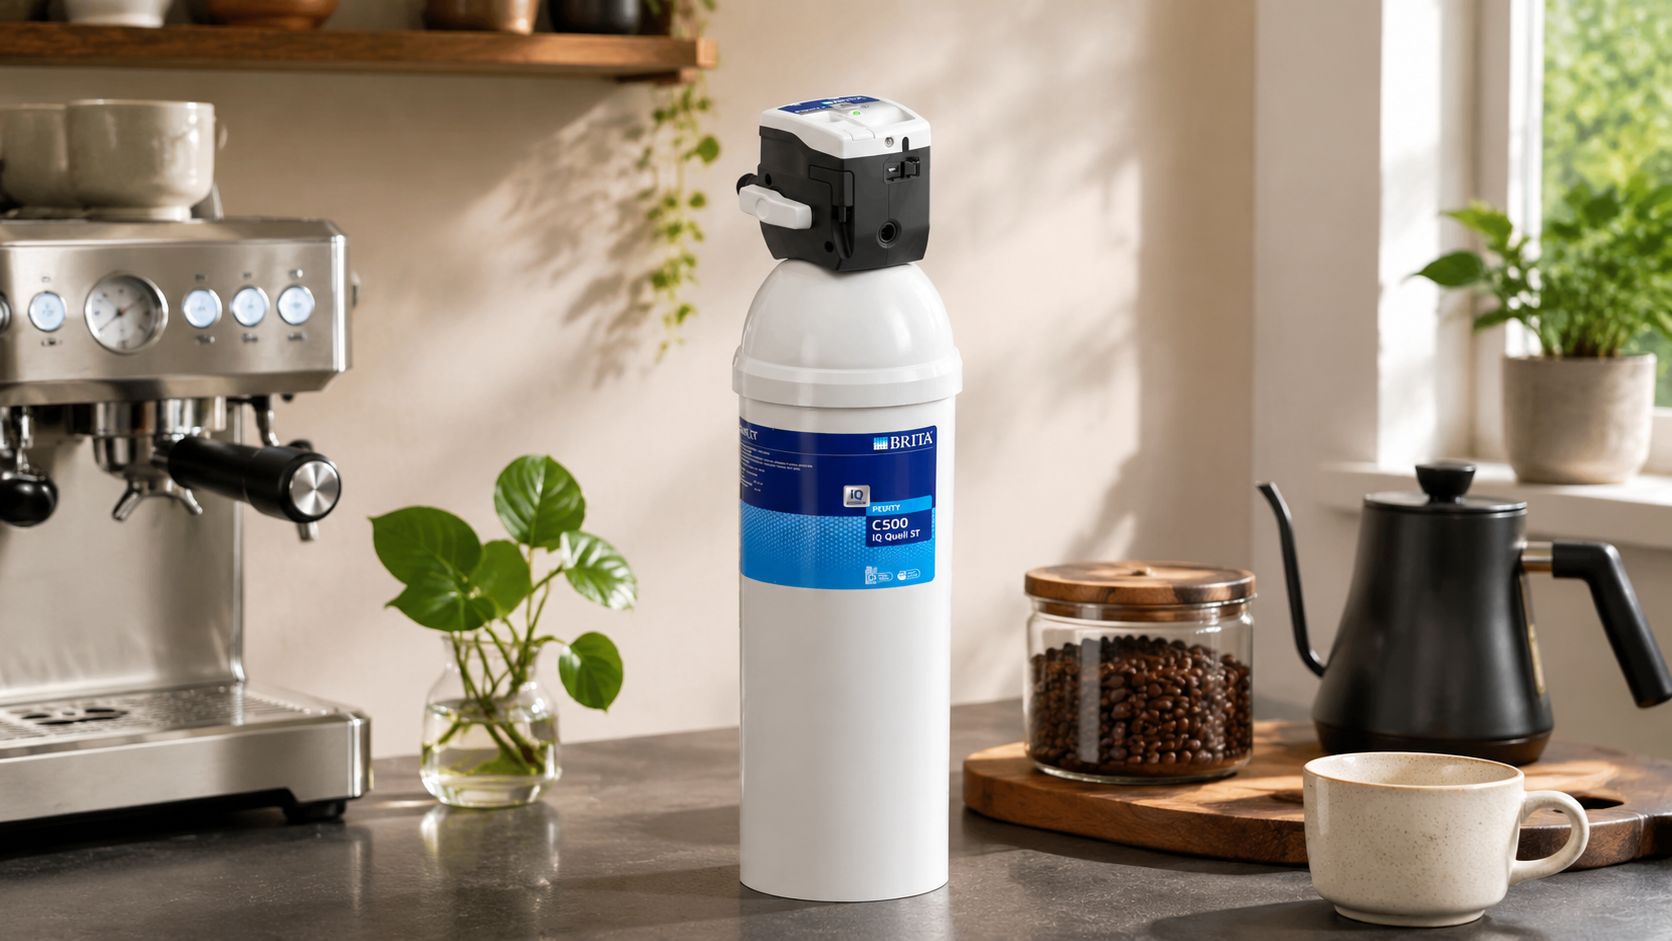
If you're looking at dedicated machine filtration, the Brita Purity C IQ 500 Filter Cartridge is one product you'll come across in this category. What matters most is matching filtration to your water and the way your machine is used.
Choosing beans for your taste and routine
Fresh beans are just as important as water, but freshness alone isn't the whole story. You also want a coffee that suits how you brew and drink it.
A blend often gives a forgiving, balanced espresso that works well with milk. A single-origin can be more distinctive and more revealing, which is great if you like exploring flavour but less forgiving if your espresso prep is still developing.
A few buying habits make life easier:
- Buy smaller amounts more often: That keeps the coffee moving through the grinder while it still tastes lively.
- Store beans properly: Airtight storage matters, especially in a kitchen environment.
- Choose for the cup you want: Chocolate and nut notes often suit milk drinks. Brighter fruit notes can shine in straight espresso.
If you want a practical starting point, this coffee beans buying guide for 2026 helps narrow choices by flavour and use case.
Your First Brew Setting Up and Calibrating
The first day with a new home barista setup should be methodical, not rushed.
Set the machine up properly on day one
Wash what needs washing. Flush the machine according to the manual. Run water through the group and steam system if required. Check that the grinder is assembled correctly and free of packing dust or old retention from factory testing.
Then set up your station so the next few coffees are easy to repeat. Put the scale where it will live. Keep the WDT and tamper together. Have a cloth ready for the steam wand and a cup that fits comfortably on the tray.
The first goal isn't brilliance. It's control.
A simple dial-in routine
For UK home espresso setups, the most detailed benchmark in the provided guidance describes a method built around a burr grinder, WDT, scale accuracy and a defined shot process. It also notes a step-by-step approach of grinder calibration, declumping, tamping and extracting for 28–32 seconds, with a reported 92% success rate in UK home setups under that methodology.
For day one at home, keep it simpler. Start with that familiar espresso baseline of 18g in, 36g out, in about 28–32 seconds. Use your scale, grind into the basket, break up clumps with the WDT, tamp evenly, and pull the shot.
A useful walkthrough can help when you're learning what each adjustment does. This guide on how to dial in espresso is a good companion while you're building that feel.
Try this process:
- Dose the same each time: Keep the coffee input fixed at your chosen starting point.
- Watch the yield: Stop the shot at your target liquid weight.
- Check the time: If it runs too fast or too slow, adjust the grind, not everything else.
- Taste the result: Sour often points to under-extraction. Bitter can suggest the shot ran too long or too fine.
Change one variable at a time. If you alter dose, grind and yield together, you won't learn what fixed the cup.
A visual demo can make the timing and grind changes easier to follow:
What to change when the shot is wrong
Espresso gets easier once you know what not to touch.
If the shot gushes through quickly and tastes sharp, tighten the grind slightly. If it crawls and tastes heavy or harsh, go a little coarser. Keep the dose and target yield stable while you make those first corrections.
A short troubleshooting table helps:
| Problem in the cup | Likely issue | First adjustment |
|---|---|---|
| Thin, sharp, sour | Flow too fast or uneven puck | Grind finer slightly |
| Harsh, dry, bitter | Flow too slow | Grind coarser slightly |
| Spraying or messy flow | Clumps or poor prep | Improve WDT and tamp consistency |
The point of calibration isn't perfection on the first bag. It's learning the relationship between grind, flow and taste so your setup becomes predictable.
Your Rewarding Coffee Journey Begins
A well-built home barista setup isn't really about owning more gear. It's about making your kitchen work for good coffee, day after day.
When the space is planned properly, the equipment matches your budget, and your process is steady, coffee at home stops feeling hit and miss. It becomes reliable, enjoyable and worth the effort. Keep the station clean, keep tasting carefully, and let your habits improve alongside your equipment. That's how a coffee corner turns into a craft you enjoy.
If you're building or refining your own setup, Allied Drinks Systems is a useful UK source for machines, grinders, filtration, beans and barista accessories, along with buying guides that help you choose equipment around workflow and use rather than guesswork.