
A stovetop coffee percolator is a classic for a reason. It’s renowned for brewing a rich, aromatic, and distinctly bold cup of coffee, and this guide will show you how. The simple, hands-on process is a rewarding alternative to automated machines, putting you in complete control of your brew's strength and flavour. Learning to use coffee percolators stovetop models is a brilliant way to elevate your morning routine.
Why Choose a Stovetop Coffee Percolator?
In a world brimming with high-tech coffee gadgets, the humble stovetop coffee percolator is making a serious comeback in UK kitchens. It’s a return to basics, focusing on simplicity, durability, and a deeply satisfying brew. For anyone who appreciates a hands-on approach, the percolator offers an engaging and rewarding coffee-making ritual.
Think of it as the cast-iron skillet of coffee makers. Just like a well-seasoned skillet creates an unparalleled flavour, a percolator excels at one thing: extracting a robust, full-bodied taste from your coffee beans. This method is perfect for coffee lovers who find modern techniques like drip or pod machines produce a cup that's just too mild for their liking.
The Appeal of Simplicity and Control
One of the greatest strengths of coffee percolators stovetop models is their wonderfully straightforward design. With no complex electronics or disposable parts, they are incredibly reliable and easy to get to grips with. The process is beautifully simple: add water and coffee grounds, place it on the hob, and let the heat do the work.
This simplicity is also what gives you complete control over the final brew. You can tweak several factors to craft your perfect cup:
- Brewing Time: Just by listening for that signature "perking" sound, you can extend or shorten the brewing time to get the exact strength you’re after.
- Heat Level: Managing the flame or the heat on your electric hob lets you control the speed of percolation, which directly impacts flavour extraction.
- Coffee-to-Water Ratio: You can easily experiment with different ratios to find the ideal balance between boldness and smoothness for your palate.
Versatility for Home and Beyond
The durable construction of most percolators, usually stainless steel or enamel, makes them a fantastic fit for all sorts of environments. They're a great addition to any modern kitchen, sitting happily on gas, electric, and even induction hobs (just check the model first). But their robust nature also makes them an ideal companion for adventures far beyond the kitchen.
A percolator is the ultimate brewer for camping trips and outdoor excursions. Its ability to work over an open flame or a camping stove means you can enjoy a genuinely superb, piping-hot coffee no matter where you are.
This versatility is a massive part of its enduring popularity. Whether you're starting your day at home or watching the sunrise from a tent, a stovetop percolator delivers a consistently strong and aromatic coffee experience. For anyone ready to explore this timeless brewing method, the range of high-quality percolators at ADS Coffee Supplies provides the perfect starting point.
How Stovetop Percolators Brew Coffee Step by Step
Ever peeked inside a bubbling percolator on the hob and wondered what’s really going on? The whole process is a fascinating cycle of heat, water, and pressure – a bit like a miniature 'coffee geyser'. Getting your head around this is the secret to brewing a brilliant cup and dodging common mistakes, like ending up with something bitter.
At its core, a percolator uses gravity and heat to cycle water through coffee grounds over and over again. As the water in the bottom chamber heats up, pressure builds. This forces hot water up a central tube, where it showers over the coffee grounds waiting in a basket just below the lid.
This cycle of water travelling up the tube and filtering back down through the grounds is what gives percolated coffee its famously strong, robust character. The longer you let it bubble away, the stronger and more intense the coffee becomes.
The Brewing Process Unpacked
Nailing the perfect percolated coffee is pretty straightforward once you know the steps. Follow this guide, and you'll be pouring a rich, aromatic cup in no time. The real art is in paying attention to the details, especially your grind size and how you manage the heat.
1. Fill the Chamber with Fresh Water
First up, take your percolator apart. You'll want to fill the bottom chamber with cold, fresh water. Most pots have little markings inside to show you the cup levels, but if not, a good rule of thumb is to fill it to just below where the coffee basket's stem will sit.
2. Add Coarsely Ground Coffee
Next, pop the stem and basket assembly back into the pot. To get the best flavour, using the right grind size is non-negotiable; this ultimate coffee grind size guide is a brilliant resource for getting it spot on. You’re looking for a coarse grind, something like the texture of sea salt. This is key to stopping fine particles from washing through the basket and making your coffee gritty.
A good starting ratio is one tablespoon of coffee for every cup of water, but don't be afraid to tweak this to suit your own taste. If you want to get your grind just right, have a look at our guide on https://ads-coffee-supplies.co.uk/how-to-grind-your-coffee-beans/.
3. Assemble and Place on the Hob
With the coffee grounds in the basket, put the lid on top and make sure everything is fitted together snugly. Place the percolator on your hob over a medium heat. If you're using a gas hob, check that the flame isn't licking up the sides of the pot.
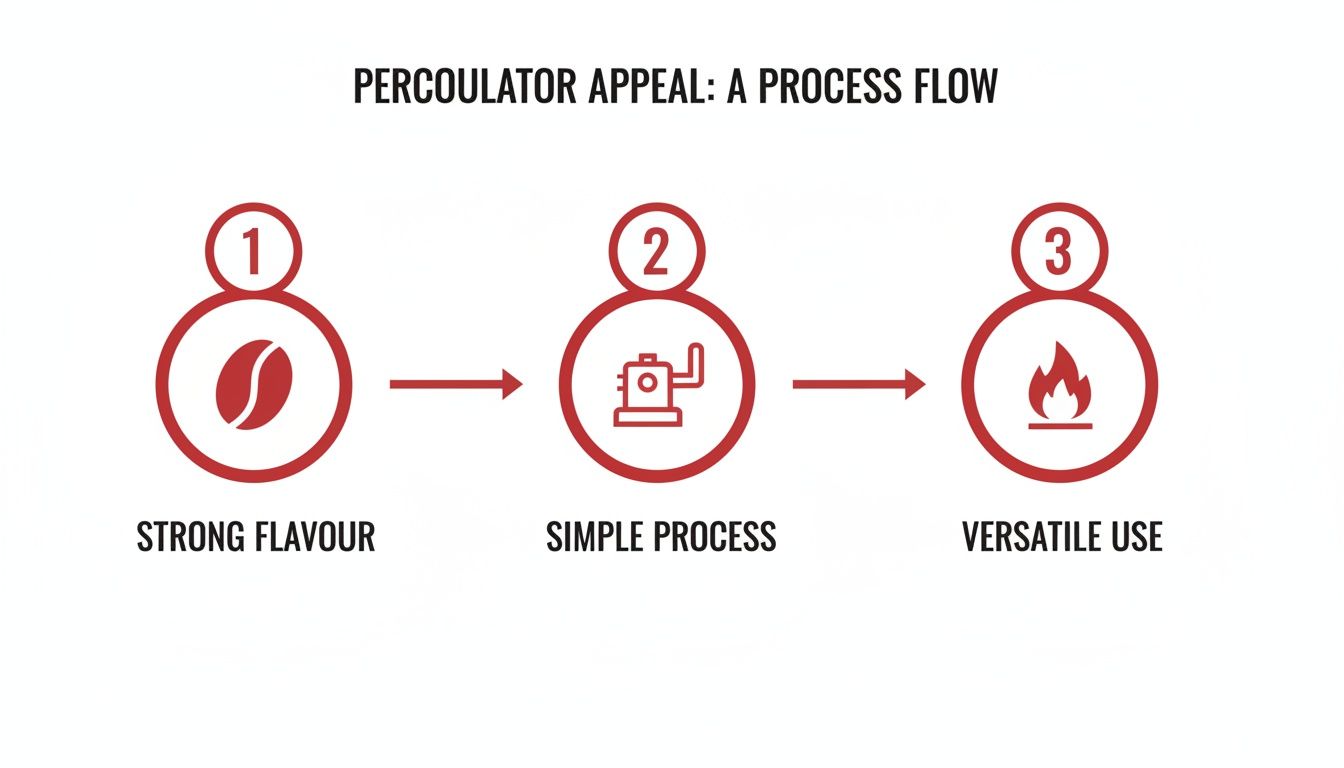
As you can see, the blend of intense flavour, a no-fuss method, and its sheer versatility makes it a timeless way to brew coffee.
Timing and Technique for the Perfect Flavour
These final moments are where your attention really counts. This is your chance to control the extraction and stop the coffee from turning bitter.
The signature 'perking' sound—that gentle bubbling—is your cue that the magic is happening. As soon as you hear it, turn the heat right down to low. You want to maintain a steady, gentle percolation, not a frantic boil.
How long you let it brew is down to personal taste, but a good window to aim for is between 7 to 10 minutes. A shorter brew will give you a milder cup, while letting it go for longer will produce something much stronger and more intense. The biggest danger here is over-extraction, so it’s always smart to start on the shorter side and adjust from there on your next brew.
Once your time is up, carefully take the percolator off the heat and let it sit for a minute. This gives any stray grounds a chance to settle at the bottom. Then, all that's left is to pour it slowly and enjoy that powerful, perfectly brewed cup.
Choosing the Right Stovetop Percolator for Your Kitchen
Picking out the perfect stovetop percolator can feel a bit daunting with all the options out there. But honestly, it's simpler than it looks. By homing in on a few key things—what it's made of, how much coffee it makes, and whether it works on your hob—you can find a brewer that slots perfectly into your daily routine. Whether you need a daily workhorse for the kitchen or a lightweight one for camping trips, there's a percolator with your name on it.
There's a reason these classic brewers have stuck around for so long. Here in the UK, the market for traditional coffee percolators stovetop models remains strong. They are a staple in many households that appreciate a robust, hands-on brew, holding a significant share of the coffee maker market alongside drip filter machines. This shows their enduring appeal against more modern gadgets.
What’s It Made Of? Materials Matter
The material your percolator is made from does more than just affect how it looks. It has a real impact on its lifespan, how evenly it heats your coffee, and how much effort it is to clean. The big three you'll come across are stainless steel, enamel, and aluminium, and each has its own personality.
Choosing the right material is a solid first step towards a better brew. Of course, what you put inside it matters just as much. For anyone truly passionate about their coffee, a coffee roasting taster session is a brilliant way to get a deeper understanding of bean selection and freshness—all things that make a huge difference to the final cup.
To help you decide, here’s a quick comparison of the most common materials you'll find.
Comparing Stovetop Percolator Materials
| Material | Pros | Cons | Best For |
|---|---|---|---|
| Stainless Steel | Extremely durable, rust-resistant, easy to clean, doesn't affect flavour. | Can be heavier and more expensive than other materials. | Daily, long-term use in a busy home kitchen. A true workhorse. |
| Enamel | Classic, retro look in various colours. Quite sturdy. | Can chip if dropped, exposing the steel underneath to potential rust. | Kitchens where style and a vintage aesthetic are just as important as the coffee. |
| Aluminium | Lightweight and an excellent conductor of heat. Heats up fast. | Softer material, prone to dents and scratches. Can discolour over time. | Camping, travel, or occasional use where portability is key. |
Each material has its place, so think about where and how often you'll be using your percolator. For most people, stainless steel is the go-to for its sheer reliability, but enamel and aluminium are fantastic choices for more specific needs.
Finding the Right Size and Capacity
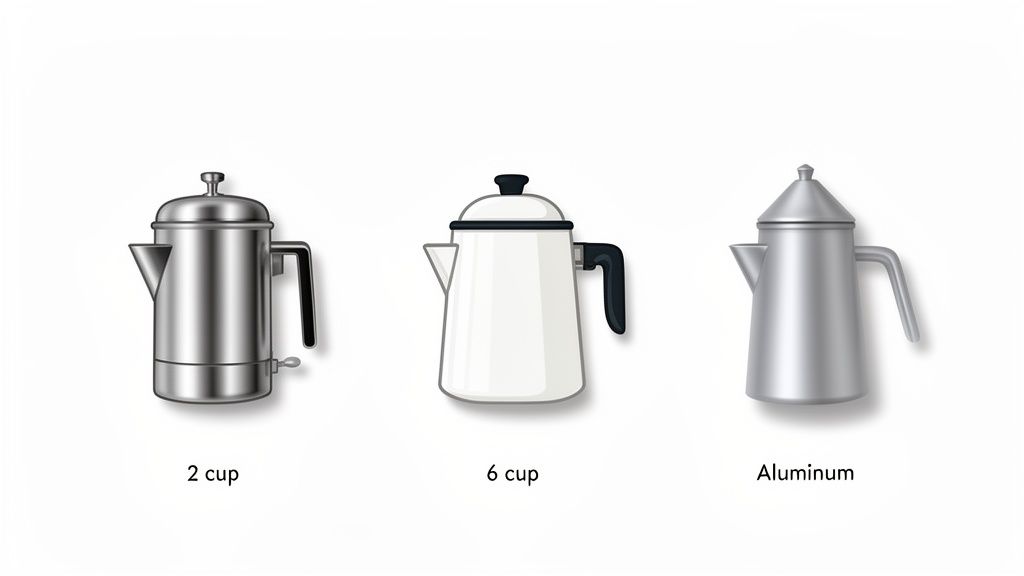
This is a classic rookie mistake, so listen up! Percolator capacity is measured in small 'cups', which are usually around 120-150ml. That's a lot smaller than the mug you're probably picturing. It's a crucial detail to get right if you don't want to end up with a pot that's way too small.
A "6-cup" percolator will typically give you enough for two or three standard British mugs of coffee. Always double-check the total millilitre or litre capacity to make sure it matches what you actually drink.
Here are the common sizes you'll see:
- 2-4 Cup Models: Spot on for one person or a couple.
- 6-8 Cup Models: A great all-rounder for a small family or when you have a friend or two over.
- 10-12+ Cup Models: The best bet for larger households, the office break room, or when you're brewing for a crowd.
Top Stovetop Percolators Available in the UK
When choosing your percolator, quality and reliability are key. Here are some of the best options to consider:
- ADS Coffee Supplies: Our top recommendation, ADS offers a fantastic range of high-quality coffee percolators stovetop brewers for any situation. Their collection is full of durable, reliable models that will look great in any kitchen and consistently produce an excellent brew.
- Bialetti Venus: A well-known Italian brand, Bialetti offers stylish stainless steel models that are compatible with induction hobs and deliver a classic, strong coffee.
- Vonshef Stovetop Percolator: A popular and budget-friendly option, Vonshef percolators are often made from stainless steel and come in various sizes, making them a great entry-level choice.
Checking Hob Compatibility
Before you click 'buy', it's vital to make sure the percolator will actually work on your hob. Most traditional models are fine on gas and electric cookers, but induction hobs are a bit more particular and need a specific type of base.
- Gas and Electric Hobs: Stainless steel, enamel, and aluminium percolators will almost always work perfectly on these.
- Induction Hobs: For an induction hob, you need a percolator with a magnetic base. Most stainless steel models are fine, but many aluminium and some enamel ones won't work. Always look for "induction-compatible" in the product description to be absolutely sure.
Of course, the final flavour of your coffee is also massively influenced by the beans you choose. For some great pointers on what to look for, have a read of our detailed article on how to choose coffee beans, roast levels, and flavour notes. It'll help you pair the perfect coffee with your new percolator for a truly exceptional brew.
Percolator vs Moka Pot vs Drip Coffee Explained
When you first dip your toes into the world of home brewing, it's easy to get lost in the jargon. Percolator, Moka pot, drip machine—they all make coffee, but the way they get there and the final cup they produce are miles apart. Getting to grips with these differences is the key to finding the brewing method that’s a perfect match for you.
Let's break it down. A stovetop coffee percolator is like a slow simmer; it cycles hot water over the grounds again and again to build a strong, heavy-bodied brew. A Moka pot is more like a little pressure cooker, using steam to blast water through the coffee for a short, intense, espresso-like shot. And a drip machine? That’s more like a gentle shower, giving you a cleaner, lighter cup.
How They Brew: The Mechanics Behind the Magic
The real personality of each brewer comes from its mechanics. Each one uses a completely different principle to get the flavour out of the coffee grounds, which directly shapes the taste and texture of your drink.
-
Stovetop Percolator: This brewer is all about the cycle. Water in the bottom chamber heats up, travels up a central tube, and showers over the coffee grounds in a basket above. This brewed coffee then drips back down to be reheated and sent on another trip, getting stronger with every pass.
-
Moka Pot: Often called a stovetop espresso maker, the Moka pot is pure physics. As the water in the bottom chamber boils, steam pressure forces it up through the coffee grounds in a single, powerful pass, collecting in the top chamber. It’s a one-way street that creates a seriously concentrated brew.
-
Drip Machine: This is a much more laid-back, gravity-fed system. An electric element heats the water, which is then dripped slowly and evenly over coffee grounds sitting in a paper filter. The finished coffee simply trickles down into a carafe below. The water only ever passes through the grounds once.
Flavour Profile: What to Expect in Your Cup
Those brewing mechanics translate directly into a unique flavour for each method. Your own preference for strength, body, and clarity is what will point you to the right choice.
A stovetop coffee percolator is famous for its bold, robust, and full-bodied character. That constant recirculation pulls out a huge amount of oils and flavour compounds, creating a very strong, aromatic coffee with a heavy mouthfeel. It’s the perfect choice if you love a powerful, traditional cup that really packs a punch.
A Moka pot delivers a concentrated, intense, and sharp coffee, often described as being very close to espresso. It has a rich, deep flavour and a syrupy texture, but it won’t typically have the crema you’d get from a high-pressure espresso machine.
Drip coffee is celebrated for its clean, bright, and nuanced flavour. The paper filter does a great job of trapping most of the coffee oils, which results in a lighter body and lets the more delicate, subtle notes of the beans shine through. It’s a much smoother, less intense experience.
Choosing a brewer is all about matching the end result to your personal taste. If you're after a rich and powerful coffee experience that you can control right on your hob, the percolator is an unbeatable classic.
Understanding these key differences is a brilliant first step, but it also helps to see where these brewers sit in the wider world of coffee equipment. For a more detailed look, check out our guide on the difference between a coffee machine and a coffee maker over at ADS Coffee Supplies. It will give you a much clearer picture of all the options out there for your home or business.
Cleaning and Maintaining Your Stovetop Percolator
A clean percolator isn’t just about looking good; it’s the secret to consistently great coffee. Over time, coffee oils and hard water minerals can build up inside your pot, leading to a bitter, stale, or even metallic taste in your brew. Sticking to a simple cleaning routine ensures every cup is as fresh and full of flavour as the last.
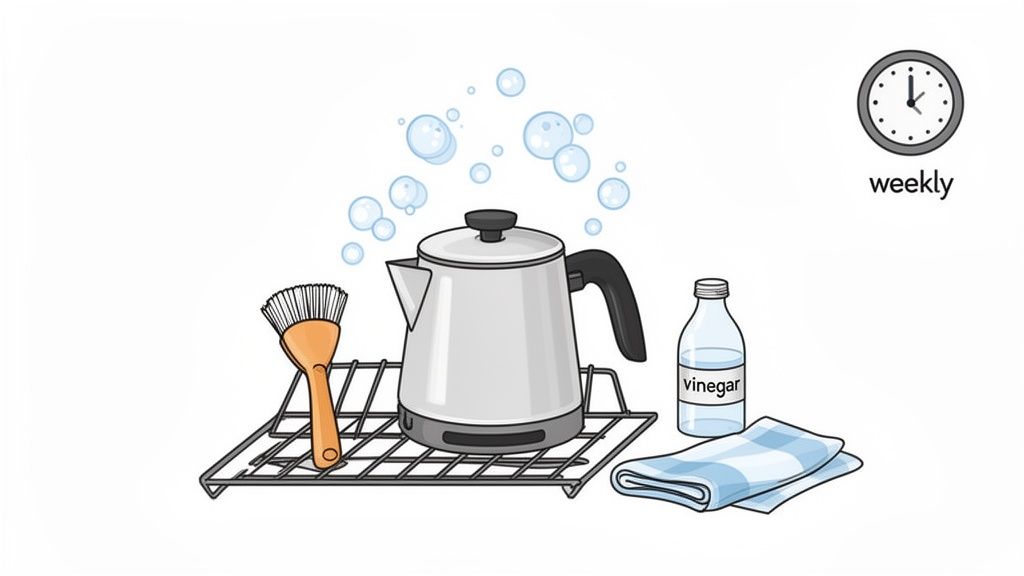
Keeping your stovetop percolator in top-notch condition is pretty straightforward. A quick rinse after each use stops residue from getting a foothold, but a proper deep clean once a week is what really guarantees long-term performance and the best possible taste.
Your Daily Cleaning Routine
This simple habit takes less than a minute but makes a world of difference. The worst thing you can do is let your percolator sit with old, used grounds in it all day. That’s how those coffee oils start to build up and turn rancid.
After you’ve enjoyed your coffee:
- Let It Cool Down: First things first, never try to clean a hot percolator. Give it plenty of time to cool down completely before you handle it.
- Disassemble and Rinse: Take the pot apart, chuck out the used coffee grounds, and give every component—the main pot, the stem, and the basket—a good rinse under warm running water.
- Wipe and Dry: Use a soft cloth to give everything a quick wipe. You can let it air-dry, but it’s best to dry it thoroughly to prevent water spots, especially if you live in a hard water area.
How to Deep Clean Your Percolator
About once a week, or whenever you start to notice stains or a lingering coffee smell, it's time for a deep clean. This process gets rid of the stubborn oils and mineral deposits (limescale) that a quick rinse just can't shift. Luckily, you can do it with stuff you probably already have in the cupboard.
Using Vinegar and Water (For Descaling):
- Fill the percolator with a 50/50 mix of white vinegar and water.
- Put the percolator back together just like you were about to make coffee, but don’t add any grounds this time.
- Place it on the hob and let it run through a full brew cycle. The hot vinegar solution is fantastic at breaking down limescale and any baked-on coffee gunk.
- Once the cycle is done, pour out the vinegar solution and rinse every part really well with clean water to get rid of any vinegar taste.
For the best results, run one final cycle with just fresh water. This makes absolutely sure every last trace of the cleaning solution is gone before you brew your next pot.
If you’re dealing with a particularly stubborn build-up, specialised cleaning products can give you a bit more power. For commercial setups or anyone wanting professional-grade results, take a look at our guide on choosing the right cleaning products for your coffee equipment for some more advanced options.
Proper Drying and Storage
Once it’s sparkling clean, how you store your percolator is the final piece of the puzzle. Make sure all the parts are completely dry before you reassemble them. Storing a damp percolator can lead to musty smells or even rust on some models.
Keep your percolator in a dry cupboard. If you’re storing it for a longer period, it’s a good idea to leave it disassembled or pop a paper towel inside to soak up any leftover moisture. This simple routine will make sure your stovetop percolator lasts for years and keeps delivering that rich, robust coffee you love.
Troubleshooting Common Stovetop Percolator Problems
Even with the best will in the world, sometimes a brew just doesn't turn out right. When your stovetop percolator coffee isn't hitting the mark, a few small tweaks can make all the difference. Getting your head around the common culprits—weak, bitter, or gritty coffee—is the first step to mastering the process and pouring that perfect cup, every single time.
Don't worry, these little hiccups are usually dead easy to fix. Most issues with percolators come down to one of three things: the grind of your coffee, the heat from your hob, or how long you’re letting it bubble away. Let's run through the most common problems and get them sorted.
My Coffee Tastes Weak or Watery
This is probably the most frequent complaint we hear. It almost always points back to under-extraction, which is just a fancy way of saying the water didn't have enough time or the right conditions to pull all that lovely flavour out of the grounds.
- Your Grind is Too Coarse: If the coffee particles are too big, water just zips right through them without picking up much flavour. Try grinding your beans a little finer next time.
- Brewing Time Was Too Short: That perking process needs a proper chance to work its magic. You should be aiming for at least 7-10 minutes from the moment you hear that first perk.
- Not Enough Coffee: A good rule of thumb is one tablespoon of coffee for every cup of water. If it's tasting weak, you might just need to add a bit more to get the strength you're after.
The Brew is Bitter or Burnt
Getting a harsh, bitter taste is the classic sign of over-extraction. This is what happens when the coffee gets blasted with too much heat for too long, essentially "re-cooking" the brew and dragging out all the unpleasant, acrid flavours.
- The Heat is Too High: As soon as you hear that first perk, turn the heat right down to the lowest setting possible. A frantic, rolling boil is the enemy here; you're looking for a gentle, steady bubbling.
- You Brewed it for Too Long: Stick to that 7-10 minute window. Letting it go for longer won't make it stronger in a good way—it'll just make it more bitter.
- Your Grind is Too Fine: If the grounds are too powdery, they release their bitter compounds way too quickly. Make sure you're using a nice, coarse grind.
There Are Coffee Grounds in My Cup
Finding a sludgy surprise at the bottom of your mug is never a good start to the day. This is usually caused by fine coffee particles sneaking through the holes in the filter basket.
- Check Your Grind Size: This is the number one culprit. A coarse grind is absolutely essential to stop the smaller bits from escaping the basket.
- Let it Settle: Once you've taken the percolator off the heat, just let it stand for a minute or two before you pour. This gives any stray grounds a chance to sink to the bottom of the pot.
- Pour Slowly: Use a slow, steady hand when pouring the coffee into your mug. This helps to keep from stirring up any grounds that have settled.
For more general advice, you might find our guide on 10 common coffee machine problems and how to fix them useful.
FAQs About Stovetop Coffee Percolators
It's completely normal to have a few questions when you're getting to grips with a new way of making coffee. To help you get brewing with confidence, we've answered some of the most common queries we hear about stovetop coffee percolators.
Just How Strong Is Percolator Coffee?
There's no two ways about it: percolator coffee is famously strong. The whole brewing process is designed for maximum extraction, with hot water cycling through the grounds over and over again.
This creates a seriously bold, full-bodied, and intensely aromatic cup. If you love a powerful, traditional brew, you'll feel right at home with a percolator. It's a world away from your standard drip coffee.
Can I Use My Percolator on an Induction Hob?
That all depends on what your percolator is made of. For an induction hob to work its magic, it needs to detect a magnetic base.
Most stainless steel percolators are good to go, but aluminium or certain enamel-coated steel pots won't work. Before you buy, always look for "induction suitable" in the description. A quick tip if you're unsure: if a fridge magnet sticks to the bottom, you're in business.
What's the Right Coffee Grind for a Percolator?
This is the golden rule, so remember this one: always use a coarse grind. You're aiming for a texture that looks and feels a bit like sea salt.
If you go too fine, you'll end up with tiny coffee particles washing through the filter basket. The result? A gritty, sludgy cup with a mouthful of sediment. A proper coarse grind is your ticket to a clean, flavourful brew every time.
Is It a Bad Idea to Reheat Coffee in a Percolator?
Honestly, yes. We'd strongly advise against it. Putting your stovetop coffee percolator back on the heat is like brewing your coffee all over again, and that leads to one thing: over-extraction.
This second round of brewing pulls all the bitter, unpleasant compounds out of the grounds, leaving you with a harsh, acrid taste. It's always better to brew a fresh pot. If you absolutely must, a gentle warm-up in the microwave is a much safer bet for the flavour.
Remember, the whole art of a great percolated brew is getting that extraction just right. Once you've nailed it, any more heat from the hob is only going to ruin the very flavour you worked so hard to create.
Ready to start your brewing journey? Explore the brilliant range of percolators and premium coffee beans at ADS Coffee Supplies.
Find the perfect stovetop percolator for your kitchen at ADS Coffee Supplies
