
Dreaming of a lush, café-style cappuccino but don't have a steam wand or electric frother? Getting that perfect velvety texture is simpler than you think. The secret to learning how to froth milk without a frother is using common kitchen tools—like a jam jar or a French press—to whip hot milk into a beautiful foam in under a minute.
This guide is packed with practical, tried-and-tested methods to help you craft café-quality coffee at home. We'll walk through several foolproof techniques that prove you don’t need fancy gadgets for impressive results. Getting the milk right elevates your daily coffee from a quick caffeine hit to a moment of genuine enjoyment.
Why Bother Frothing Milk?
You might wonder if frothing milk is worth the extra minute. The answer is a resounding yes. Pushing air into milk doesn't just change its texture; it fundamentally alters the taste and mouthfeel of your drink.
- Enhanced Sweetness: The aeration process naturally brings out the sweetness in milk, meaning you can often skip the sugar.
- Improved Texture: Frothed milk adds a light, velvety consistency that beautifully complements the boldness of good coffee.
- Professional Finish: A lovely layer of foam makes your homemade lattes and cappuccinos look and feel authentic.
The magic of great coffee lies in balancing textures. Well-frothed milk creates a silky layer that slowly melds with the coffee, making each sip more complex and satisfying.
Once you master these techniques, you’ll unlock a new world of coffee creations. To take your skills even further, check out our guide on how to create latte art. Learning how to froth milk without a frother is the first step towards turning your kitchen into your favourite coffee spot.
How to Choose The Best Milk For Frothing
Before we get to the how, let's talk about the what. Your success starts with the milk you choose. The secret to a stable, long-lasting foam comes down to two things: protein, which gives air bubbles their structure, and fat, which adds rich flavour and creamy texture.
You'll quickly find that different milks behave in very different ways. Whole milk is the most forgiving for beginners, as its high fat and protein content creates a beautifully creamy and stable foam with minimal fuss. Skimmed milk, on the other hand, can whip up into a mountain of stiff, airy foam but lacks that velvety mouthfeel.
This simple decision tree nails the first step in your frothing journey.
As you can see, whether you own a frother or not, understanding your milk is the fundamental next step to getting the texture you're after.
Dairy vs Plant-Based Milks
The sheer number of milk choices has completely changed the game for home baristas. Plant-based milks have very different protein structures, which is why you should always look for the ‘barista’ versions of oat, soya, and almond milk. These are specifically formulated with added stabilisers to help them create a creamy, durable foam that can rival dairy. Standard versions often create a thin froth that disappears in seconds.
Pro Tip: Always start with cold milk, straight from the fridge. The proteins in cold milk are more stable, allowing them to trap air more effectively as the milk warms up. Starting with warm milk will only lead to a flat, disappointing result.
A Comparison of Milk Frothing Potential
To help you pick the right carton for the job, here’s a quick rundown of how common milk types perform. This table breaks down what you can realistically expect from each one.
| Milk Type | Frothing Potential | Foam Texture | Best For |
|---|---|---|---|
| Whole Milk | Excellent | Rich, creamy, and stable microfoam. | Lattes, cappuccinos, and latte art attempts. |
| Skimmed Milk | Good | Stiff, dry, and very airy foam. | Traditional, very foamy cappuccinos. |
| Oat (Barista) | Excellent | Creamy, dense, and glossy. | Lattes and flat whites; a great dairy-free all-rounder. |
| Soya (Barista) | Very Good | Dense and stable, holds well. | Cappuccinos and macchiatos. |
| Almond (Barista) | Fair to Good | Lighter, larger bubbles, less stable. | Iced lattes and drinks needing a light foam. |
Ultimately, the best milk is the one that suits your taste and dietary needs. Don't be afraid to experiment to find your perfect match. If you want to get into the science of it, this Barista's Guide to the Best Milk for Latte Art is a fantastic external resource.
Easy Ways You Can Froth Milk Without a Frother
Here are four simple, tried-and-tested methods for frothing milk using everyday kitchen tools.
1. The Jar and Shake Method
This is arguably the most straightforward way to get frothed milk at home. If you have a clean jar with a secure lid—a jam jar is perfect—you're halfway there. This method relies on vigorous shaking to incorporate air, proving you don't need special kit for a fantastic result.
First, pour cold milk into your jar, filling it no more than halfway. This is crucial as it leaves plenty of room for the milk to expand and create foam. Screw the lid on tightly and shake it hard for 30 to 60 seconds. You’re looking for the volume of the milk to roughly double as it becomes frothy.

After shaking, you'll have cold, frothy milk. To create a warm, silky texture perfect for a latte, you need to stabilise the foam with heat. Simply remove the metal lid and pop the jar in the microwave for 30 to 45 seconds, watching carefully to ensure it doesn't boil over. The heat sets the proteins, giving the foam a more stable and velvety structure.
After heating, tap the jar firmly on the counter and give it a little swirl. This pops any large bubbles and helps create a smoother, more professional-looking foam.
2. The French Press Method
If you own a French press, you're in luck. This simple brewer doubles as a fantastic tool for creating beautifully textured microfoam, getting you remarkably close to the quality of a steam wand. The fine mesh screen on the plunger is incredibly effective at creating a uniform, velvety texture, making it ideal if you want to try some latte art.
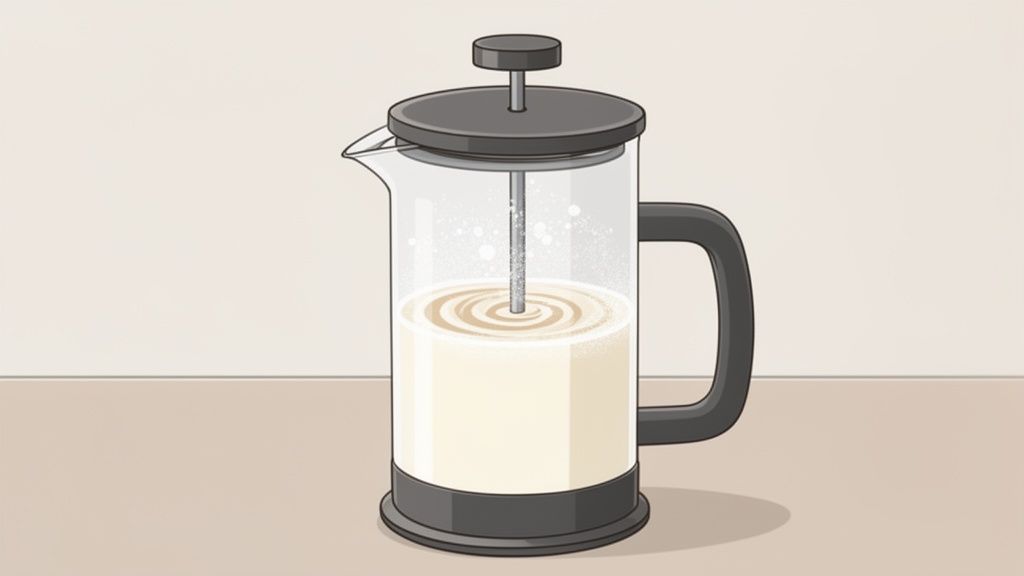
First, gently heat your milk to between 60-65°C (140-150°F). Pour the warm milk into your French press, filling it no more than one-third full. Place the lid on and use a series of rapid, short pumps, keeping the plunger just below the surface for about 10 seconds to pull air into the liquid. Then, move to longer, faster plunges for another 20 to 30 seconds until the milk has doubled in volume.
3. The Handheld Whisk Method
This classic technique will give your arm a workout, but it works surprisingly well. Gently warm your milk in a saucepan to around 60-65°C. Pour it into a deep bowl to contain any splashes.
Tilt the bowl slightly and whisk vigorously with a rapid back-and-forth motion right at the surface of the milk. This pulls air into the liquid. It will take a minute or two of consistent effort, but you'll soon see a satisfying layer of foam building up.
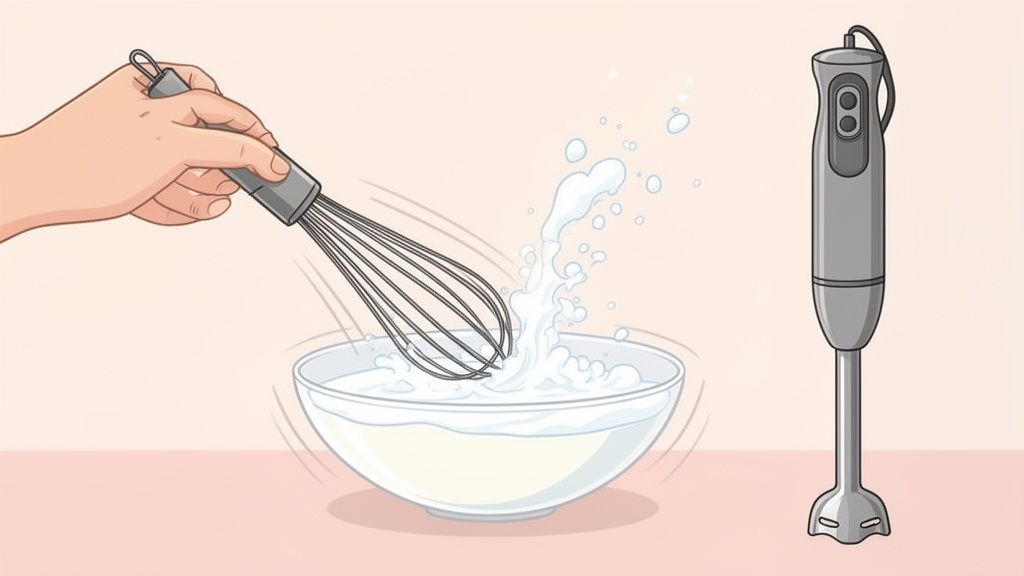
4. The Electric Mixer or Blender Method
For thick, consistent foam without the manual labour, an electric hand mixer or an immersion blender is a game-changer. These tools take all the effort out of it, creating a dense, stable froth in seconds.
- Immersion Blender: Warm your milk and pour it into a tall jug. Place the blender head just below the surface and switch it on. Keeping it near the top creates a vortex that sucks in air, giving you a thick foam in only 20-30 seconds.
- Electric Hand Mixer: Use a deep bowl to avoid mess. Start on a low speed with the whisk attachments, ramping it up as the foam begins to form.
While these methods are fantastic, understanding different types of frothers can help you decide if you eventually want to upgrade. Learn more in our ultimate guide to milk frothers, their types, and uses.
Troubleshooting Common Frothing Issues
Even when you follow the instructions, milk can sometimes be temperamental. If you're struggling to get the texture you want when learning how to froth milk without a frother, don't worry—most issues are easy to fix.
Why Won't My Milk Froth?
One of the most frequent complaints is milk that simply refuses to froth. The culprit is often freshness. Milk proteins break down over time, losing their ability to hold stable air bubbles. Always use the freshest milk possible. Another cause could be temperature; ensure your milk is properly chilled before you start, or heated to the correct temperature if the method requires it.
Why Is My Froth Too Bubbly or Vanishing Quickly?
If your foam looks more like soap suds than a creamy topping, you've likely incorporated too much air too quickly. This results in large, unstable bubbles that collapse almost immediately.
- For the jar method: Try shaking a little less vigorously, but for a slightly longer time.
- For the French press: Use shorter, more controlled pumps rather than aggressive plunges.
A crucial pro tip for any method is to firmly tap your container on the worktop after frothing and follow with a gentle swirl. This simple action pops the larger bubbles and helps create a smoother, professional-looking microfoam.
Your Milk Frothing Questions Answered
Here are answers to some of the most common questions about frothing milk without a machine. These tips should help you perfect your technique and get creative at home.
Can I froth cold milk for iced coffees?
Absolutely! All the methods we've covered work perfectly with cold milk. Just skip any heating steps after you've made the foam. This technique is perfect for creating a rich, luxurious cold foam to sit on top of iced lattes and cold brews, giving you a creamy texture without warming your drink.
Why is my plant-based milk not frothing well?
This is a common hurdle. Plant-based milks have different protein and fat structures to dairy, which can make them tricky to froth. For the best results, always use the ‘barista’ version of your favourite oat, soya, or almond milk. They have been formulated with stabilisers to help create a creamy, stable foam that holds its shape.
How should I clean my equipment after frothing?
It’s important to clean your tools straight away, as dried milk residue can be tough to remove. For jars or a French press, rinse immediately with hot water before washing properly with washing-up liquid. For whisks or blenders, a quick trick is to whizz them for a few seconds in a cup of hot, soapy water before a final rinse.
Ready to put these techniques into practice? At ADS Coffee Supplies, we are the UK's number one choice for everything you need to perfect your homemade coffee, from premium coffee beans to barista accessories.
Explore our full range and perfect your brew today at https://ads-coffee-supplies.co.uk.
