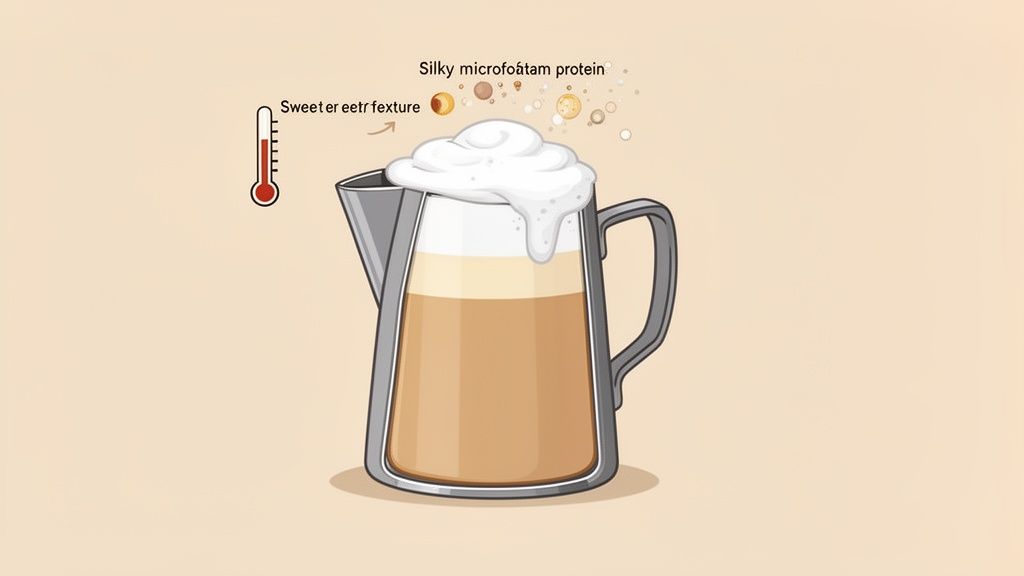
Learning how to steam milk is a craft. It’s the delicate balance of temperature, texture, and taste that creates the silky microfoam for a professionally made coffee. The process is simple in theory: use a steam wand to inject air into cold milk, creating a vortex that breaks down bubbles until you have a glossy, sweet, and perfectly integrated foam.
The Secret to Silky Sweet Steamed Milk
Ever wondered how your favourite UK café turns a simple espresso into a rich, velvety latte? The secret isn't just in the beans; it's in the perfectly steamed milk. This isn't just about heating it up. It’s a skill that involves carefully balancing air and heat to unlock the milk's natural sweetness, creating incredible microfoam—the glossy, paint-like texture that makes a coffee truly special.
Why Perfect Steamed Milk Matters
The science behind it is pretty fascinating. When you steam milk, proteins denature and fats melt, trapping air within a stable structure to create foam. Done right, the process also breaks down lactose into simpler, sweeter-tasting sugars. That’s why properly steamed milk has a distinct sweetness, without a single grain of sugar added.
In the UK's bustling coffee scene, where a staggering 98 million cups are savoured daily, mastering this skill is a game-changer for independent cafés and home baristas alike. With out-of-home coffee sales predicted to climb, drinks like lattes and cappuccinos that rely on perfect milk are more popular than ever. You can get more insights on the UK coffee market from Balance Coffee.
Getting the texture right is crucial. You're aiming for microfoam, which consists of tiny, uniform bubbles so small they can't be seen individually. This creates a smooth, velvety liquid that blends seamlessly with espresso.
This guide will walk you through the entire process, from fundamentals to advanced techniques. We'll also highlight why having the right gear, from a reliable espresso machine to the perfect milk pitcher from a trusted supplier like the number one rated Allied Drinks Systems, makes all the difference in achieving consistently brilliant results.
How to Steam Milk: Choosing Your Tools and Milk
Before you touch the steam wand, remember this: the quality of your finished coffee is decided long before you start. It begins with your tools and ingredients. Nailing this foundation is the first real step in learning how to steam milk properly.
Your most critical tool is the steam wand on your espresso machine. These wands come with different tip designs, usually with one to four holes. A four-hole tip unleashes powerful steam, creating a swirling vortex in the milk much faster—perfect for a busy café. On the other hand, a single-hole tip gives you more gentle control, making it a fantastic choice for beginners.
The Essential Milk Pitcher
A high-quality stainless steel milk pitcher is completely non-negotiable. Its conductive material is your best friend for gauging temperature by touch, stopping you from accidentally scalding the milk.
The shape is just as important. A pitcher with a sharp, defined spout and a classic bell-shaped bottom is engineered to help create that perfect swirling vortex. This whirlpool motion is what folds air into the milk, breaking down big, clumsy bubbles into the silky microfoam we're all chasing.
Steaming milk isn't just a skill; it's big business in the UK. This one technique fuels a coffee industry worth £9.1 billion in Gross Value Added and supports over 210,000 jobs. With one in three Brits now reaching for non-dairy options, baristas have to be more adaptable than ever. For more on this, check out key insights on the UK coffee sector from the British Coffee Association.
Selecting the Perfect Milk
The type of milk you choose will dramatically change your results. For most baristas, whole dairy milk is the gold standard. Its higher fat and protein content work together to create a rich, stable, and glossy foam that’s a dream for latte art. The fat brings flavour and creamy mouthfeel, while the proteins provide the structural backbone for the foam.
But times have changed, and plant-based milks are now a café staple. Oat milk is a firm favourite because its creamy texture and relatively neutral flavour steam beautifully, often coming incredibly close to dairy milk. Almond milk can be a bit trickier; its lower protein and fat content can result in a thinner, less stable foam. No matter which you use, always reach for a "barista edition," as these are specifically formulated to create a much better texture.
For more ways to get great foam at home, you can explore our guide to milk frothers and their uses. Of course, in a professional setting, the right equipment is everything, and a top-tier commercial coffee machine is the cornerstone of perfect steamed milk.
Milk Steaming Characteristics Guide
Getting the best out of each milk type means understanding its unique properties. Different fats, proteins, and sugars react to heat in their own way. This table breaks down what to expect and how to handle the most common options.
| Milk Type | Best Temperature Range (°C) | Foam Quality & Stability | Barista Tip |
|---|---|---|---|
| Whole Dairy Milk | 55-65°C | Rich, glossy, and highly stable. Perfect for intricate latte art. | The high fat content is forgiving. Start here to build confidence. |
| Skimmed Milk | 50-60°C | Can produce stiff, dry foam, but it's less stable. | Aerate for less time to avoid a meringue-like texture. |
| Oat Milk (Barista) | 55-65°C | Excellent. Creates a creamy, stable foam very similar to dairy. | Tends to heat up quickly, so keep a close eye on the temperature. |
| Almond Milk (Barista) | 50-60°C | Thinner foam that can separate quickly. Not ideal for complex art. | Be gentle when aerating. Overstretching will break it down fast. |
| Soya Milk (Barista) | 55-60°C | Good foam quality, but can curdle if overheated or mixed with acidic coffee. | Never let it go past 60°C. Pour it carefully into the espresso. |
Ultimately, practice is what makes perfect. Every milk has its own personality, and learning its quirks is part of becoming a great barista. Don't be afraid to experiment with different brands to find the one that works best for your machine and technique.
The Art of Steaming Milk from Start to Finish
Right, you’ve got your kit and your cold milk. It’s time for the fun part. This is where you transform a simple liquid into that silky, sweet microfoam. Steaming milk well is all about nailing two distinct stages: stretching the milk to add air, and then texturing it to create that perfect, glossy finish.
But before you start, purge the steam wand. Point it into the drip tray and give it a quick, sharp blast for a second or two. This gets rid of any watery condensation, ensuring you’re only hitting the milk with pure, dry steam. It's a non-negotiable step in any professional workflow.
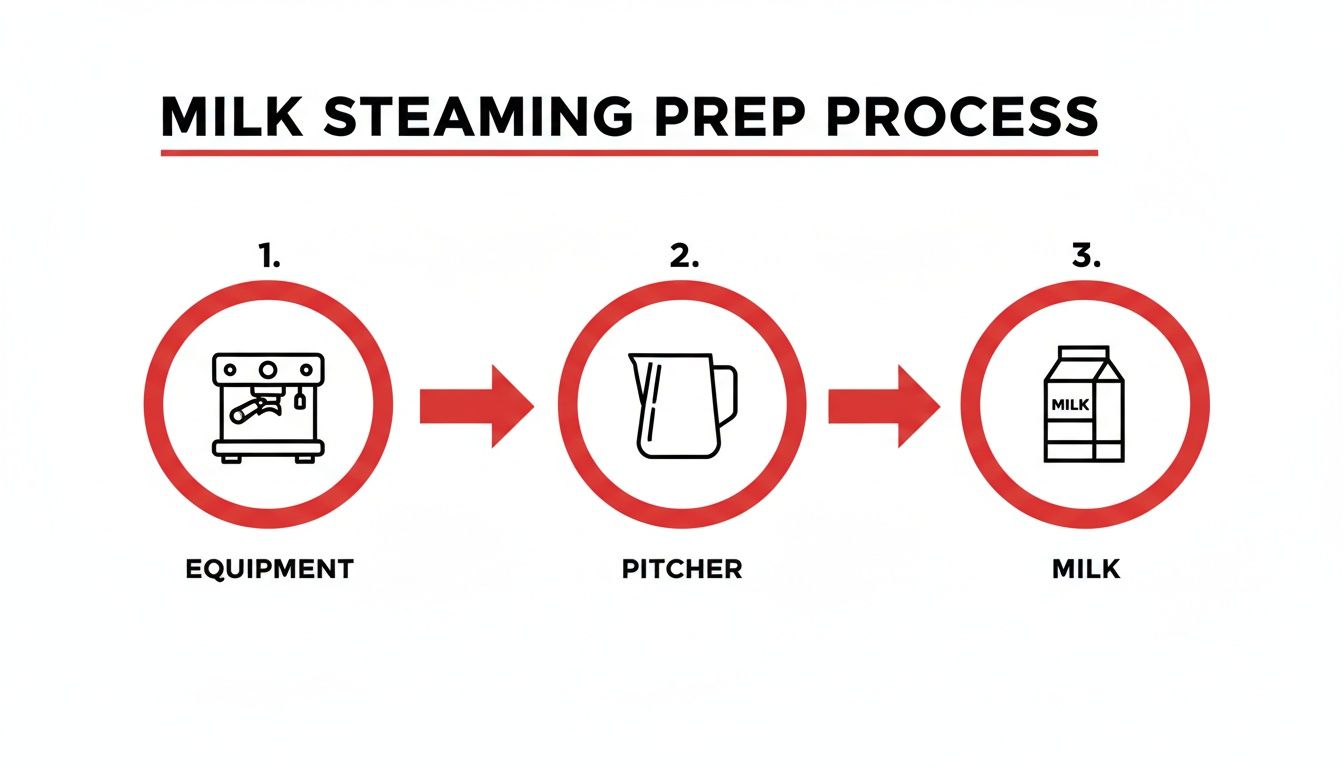
This quick visual breaks down the prep: get your gear, pitcher, and milk ready. Getting these fundamentals right every time sets you up for a great result before the steaming even begins.
Phase One: Stretching the Milk
Dip the tip of the steam wand just below the surface of the milk, slightly off-centre in your pitcher. Now, turn the steam on to full power. This first part is all about introducing air, a process we call stretching or aerating.
You’re listening for a specific sound here—a gentle, consistent hiss, like paper tearing. That’s the sound of success. If you get a loud, violent screech, the wand is buried too deep. If you see big, clumsy soap bubbles forming, it's too high. Keep that tip just below the surface and watch the milk’s volume expand by about 20-30%.
Phase Two: Texturing and Creating the Vortex
As soon as the side of the pitcher starts to feel lukewarm (around 37°C, about body temperature), it’s time to move on to the second phase: texturing.
Lower the steam wand a bit deeper into the milk. Your goal now is to stop adding air and start creating a whirlpool, or vortex. This swirling motion is vital. It smashes any larger bubbles and folds that lovely foam evenly throughout the milk, turning stiff foam into glossy, integrated microfoam. The hissing sound should disappear, replaced by a quiet hum.
Keep that vortex spinning until the pitcher becomes too hot to hold comfortably for more than a couple of seconds. This hands-on feedback is a tried-and-tested way to know you’re hitting the sweet spot of 60-65°C.
Pro Tip: Your senses are your best guides. The sound tells you if you're stretching correctly, while the feel of the pitcher tells you when to stop. Learn to trust your hands and ears.
Once you’ve hit your target temperature, turn the steam off before you pull the wand out of the milk to avoid ruining your texture. Now, give the pitcher a firm tap on the counter to pop any lingering large bubbles. Finish with a gentle swirl to polish the milk into a uniform, glossy sheen that looks like wet paint, which is essential if you're learning how to create the perfect cappuccino at home.
Solving Common Milk Steaming Problems
Even seasoned baristas have off days. Whether your milk is thin and watery or full of big, soapy bubbles, most issues are easily fixed with small tweaks. Learning how to steam milk is a journey, and troubleshooting is a massive part of honing your technique.
Don't panic when it doesn't go perfectly. Instead, treat it as a chance to diagnose the issue. Seeing what went wrong is the fastest way to learn what to do right next time.
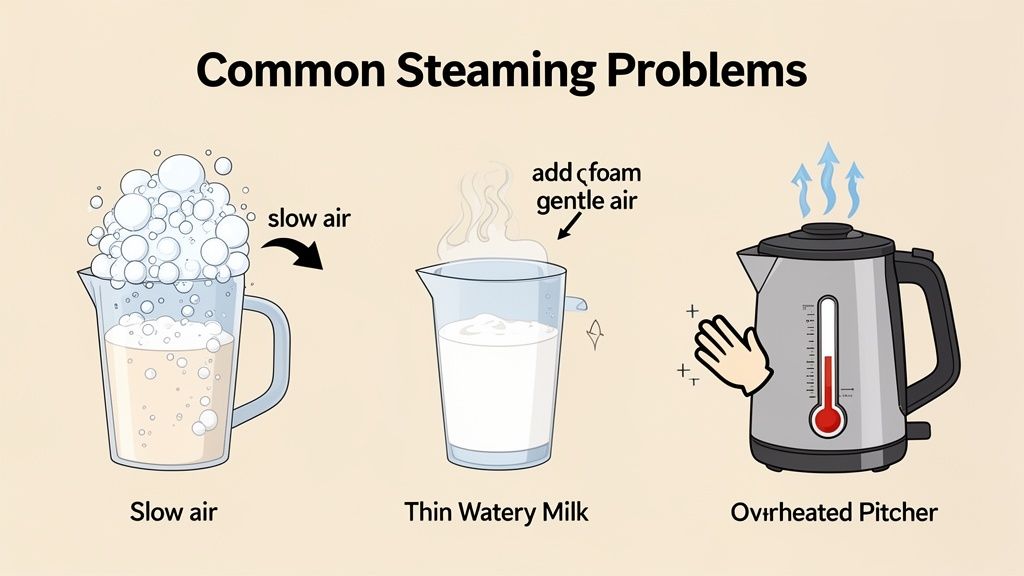
Fixing Big Soapy Bubbles
If your milk looks like it belongs in a bubble bath, you've introduced too much air, too quickly. This happens when the steam wand tip is too close to the surface. To fix this, submerge the wand just a little deeper during that initial stretching phase. You still want it near the surface to introduce air, but not so high that it creates large, unstable bubbles.
Dealing with Thin, Watery Milk
The opposite problem is milk that’s hot but has no body or foam. This is a classic sign of not adding enough air at the start. This issue usually comes from burying the steam wand too deep from the very beginning. You need to hear that gentle 'tsss-tsss-tsss' sound for the first few seconds to incorporate air before the milk gets too warm to expand.
A good rule of thumb is to introduce air until the pitcher feels lukewarm (around 37°C), then sink the wand to create the vortex for the texturing phase. If you skip the air, you’re just heating milk.
Preventing Plant-Based Milk from Splitting
Steaming non-dairy alternatives like oat, soya, or almond comes with its own challenges, with curdling or splitting being the most common. This happens when the milk's proteins react to the heat and the natural acidity of the coffee.
There are a few ways to combat this:
- Use a 'Barista Edition' Milk: These are specifically formulated with stabilisers to withstand heat and acidity.
- Watch Your Temperature: Never overheat plant-based milks. Aim for a lower final temperature of around 55-60°C.
- Let the Espresso Cool Slightly: Letting the coffee sit for just 10-15 seconds before pouring can make a big difference.
Milk Steaming Troubleshooting Quick-Fix Guide
When you're behind the bar and things go wrong, you need answers fast. This table is your go-to reference for quickly diagnosing and fixing the most common milk steaming headaches.
| Problem (The Symptom) | Likely Cause | How to Fix It |
|---|---|---|
| Big, Soapy Bubbles | Too much air introduced too quickly. Steam wand is too high. | Submerge the wand tip slightly deeper during the stretching phase. If already foamy, sink the wand deep to create a vortex and break down large bubbles. |
| Thin, Watery Milk (No Foam) | Not enough air introduced. Steam wand was buried too deep from the start. | Keep the wand tip near the surface for the first 5-8 seconds to create a gentle 'hissing' sound before submerging it for the texturing phase. |
| Milk Screaming or Squealing | The steam wand is too deep in the milk, and no air is being introduced. | Immediately raise the wand tip closer to the surface until you hear a gentle hiss, then re-submerge it to create the vortex. |
| Plant-Based Milk Curdling | Overheating, reaction to coffee acidity, or using non-barista milk. | Use a 'barista' version, steam to a lower temperature (55-60°C), and let the espresso cool for a few seconds before pouring. |
| Milk Overflows the Pitcher | Over-stretching (too much air), or starting with too much milk. | Stop stretching earlier when the milk has expanded by about 30%. Only fill the pitcher to just below the spout's base before you start. |
Keep this handy, and remember that every pitcher is a learning opportunity. Small adjustments make a huge difference over time. If you're struggling with weak steam pressure, you may find solutions in our guide to common coffee machine problems and how to fix them.
Elevating Your Skills with Advanced Techniques
Once you can consistently produce perfect, glossy microfoam, you’re ready to move beyond the basics. Nailing how you steam milk is one thing, but using that skill with the speed and consistency of a professional barista is the next level. This is where your technical ability starts to transform into genuine artistry and efficiency.
One of the most valuable skills you can learn, especially in a busy café, is milk splitting. Instead of steaming small, individual pitchers for each drink, baristas steam a larger volume of milk and then carefully decant it into smaller pitchers. This technique is a massive time-saver during a rush, letting you prep multiple drinks from a single steaming cycle. The goal is to distribute the foam perfectly evenly between the pitchers.
From Microfoam to Masterpiece
Perfectly steamed milk is the canvas for latte art. Without that uniform, velvety microfoam, pouring anything more than a simple blob is nearly impossible. Those tiny, integrated bubbles create a stable, paint-like liquid that can hold a design and create sharp contrast against the rich brown crema of the espresso. This is why baristas obsess over texture.
The key to clean latte art lies in the quality of your microfoam. If the milk is too thin, it will wash out the crema. If it’s too thick and bubbly, it will just sit on top like a stiff meringue, making any controlled pour impossible.
The Core Principles of Pouring
Creating beautiful designs requires a solid understanding of a few core principles that govern how the milk and espresso interact.
- Grooming Your Milk: After steaming, always give the pitcher a firm tap on the counter to pop any final surface bubbles. Follow this with a continuous, gentle swirl to keep the foam and liquid integrated.
- Controlling Pour Height: Start your pour from a higher position. This lets the milk dive beneath the crema, setting the base. As you fill the cup, bring the pitcher’s spout closer to the surface to allow the white microfoam to appear and form your design.
- Mastering Flow Rate: The speed of your pour is critical. A steady, controlled flow gives you the precision needed to create symmetry and sharp lines.
These techniques form the foundation for everything from a simple heart to a complex rosetta. It's the perfect next step once you've perfected your steaming.
Your Milk Steaming Questions Answered
Even after you've nailed the technique, questions always pop up. Learning how to steam milk is a constant process of tweaking and refining. This section tackles some of the most common queries we hear from home baristas and pros alike, giving you clear, straightforward answers.
What Is The Ideal Temperature To Steam Milk To?
For dairy milk, the magic happens between 60-65°C. This range caramelises the milk’s natural sugars (lactose), creating that sweet flavour without scalding it. For most plant-based milks, aim slightly lower, around 55-60°C, to avoid the risk of splitting. A stick-on thermometer for your pitcher is a brilliant way to ensure you hit these targets consistently.
Can You Steam Milk Without An Espresso Machine?
Absolutely. While a steam wand creates true microfoam, you can get respectable foam using other tools. A popular trick is to use a French press: warm your milk, pour it into the press (no more than halfway), and plunge the filter up and down rapidly for about 30 seconds. Electric milk frothers are another fantastic, convenient option.
How Often Should I Clean My Steam Wand?
You need to clean it immediately after every single use. Milk residue dries in seconds and can clog the steam holes, which wrecks performance and becomes a hygiene risk.
The process is simple:
- Wipe: Use a dedicated, damp cloth to wipe down the outside of the wand.
- Purge: Point the wand at the drip tray and blast a short burst of steam for a second or two. This clears out any milk that might have been sucked back into the wand tip.
At the end of each day, a deeper clean with a specialised dairy cleaning solution is essential to keep your gear in top condition.
Why Does My Plant-Based Milk Curdle When Steamed?
Curdling is a common headache when working with plant-based milks. It’s usually caused by a reaction between the milk’s proteins and the combination of heat and the natural acidity in your coffee. To avoid this, always go for a "barista edition" of your chosen milk alternative. Steaming to a slightly lower temperature and letting your espresso shot cool for a moment before you pour can also make a huge difference. For a deeper look, check out our guide on the most popular plant-based milk alternatives for UK coffee shops.
For anyone wanting to serve commercial-quality drinks, mastering this skill is fundamental when learning how to start a coffee shop.
At ADS Coffee Supplies, we believe everyone deserves a brilliant cup of coffee, whether at home or in a busy café. From professional-grade milk pitchers and thermometers to barista-edition plant milks, we’ve got everything you need to take your coffee skills to the next level. Explore our full range of barista tools and supplies today.