
Brewing espresso at home is a craft, a blend of precise science and a touch of art. It’s all about forcing hot water through finely-ground coffee under pressure to pull a concentrated, flavourful shot. With the right guidance, anyone can master this rewarding ritual, and I’m here to walk you through it.
Your Home Barista Journey Starts Now
Welcome to the rich, aromatic world of home espresso. Forget the intimidating jargon and complex machinery for a moment. Think of this guide as your personal coach, here to demystify the process and show you how to brew consistently delicious shots right in your own kitchen.
Making espresso at home has become a beloved ritual for coffee lovers across the UK. It’s about so much more than a morning caffeine hit; it’s about embracing the craft, taking control over every nuance of flavour, and tasting the unbeatable freshness of a shot you’ve perfected yourself.
Why Brew Your Own Espresso?
The jump from buying daily coffees to making your own might seem big, but the rewards are well worth it. You’re not just saving money in the long run—you’re investing in a skill and a daily moment of mindfulness.
There’s a unique satisfaction that comes from dialling in a new bag of beans and pulling that first perfect shot. It’s a sensory experience that starts with the whirr of the grinder and ends with that first incredible sip. For the full café atmosphere, you could even light a roasted espresso scented candle to really set the scene.
This guide isn’t a dry technical manual. It’s a conversation about the art and science of coffee, broken down into manageable, enjoyable parts. We’ll cover the essentials without the fluff, focusing on what truly matters for a great cup.
The goal is to move beyond simply following a recipe. It’s about understanding why certain steps matter, so you can diagnose issues, experiment with confidence, and ultimately develop your own signature brewing style.
What You Will Learn
This journey will arm you with practical knowledge and hands-on skills. We’re going to explore everything you need to know to build a solid foundation.
- Essential Equipment: We’ll look at the non-negotiable tools of the trade, from the machine and grinder to the smaller accessories that make a world of difference.
- The Core Principles: You’ll master the four key pillars of espresso—dose, grind, tamp, and yield—which are the bedrock of every great shot.
- Practical Workflow: We will walk through a repeatable routine, helping you build both confidence and muscle memory.
- Troubleshooting Common Issues: Learn to read the signs your espresso is giving you and make precise adjustments to fix common problems like sour or bitter shots.
By the end, you won’t just understand the mechanics of brewing espresso at home. You’ll feel confident enough to experiment, tweak variables, and consistently produce coffee that rivals your favourite local café. For those who get the bug and want to take their skills even further, exploring professional barista training courses can provide deeper insights.
But for now, let’s begin your journey right here. Your perfect homemade espresso awaits.
Building Your Essential Espresso Toolkit
Before you can pull that first beautiful shot, you need the right tools for the job. Stepping into the world of home espresso can feel a bit overwhelming, with endless gadgets and conflicting advice popping up everywhere. My goal here is to give you a practical, no-nonsense look at the essential kit, helping you invest wisely in tools that deliver consistent results and make your daily coffee ritual a genuine pleasure.
The passion for brewing at home is really taking off in the UK. While we’re projected to spend around £6.1 billion on coffee out-of-home, a whopping 57% of UK coffee drinkers now have more than one cup a day at home. This trend is especially noticeable among younger generations who are chasing those specialty drinks they love from cafés. It’s no surprise the home espresso market is growing. If you want to dive deeper into the UK’s coffee habits, the World Coffee Portal has some great insights. This shift makes getting your toolkit right more important than ever.
The Heart Of Your Setup: The Machine and Grinder
Your espresso machine and grinder are the two biggest investments you’ll make, and it’s crucial to see them as a team. You can have the best machine in the world, but if it’s paired with a subpar grinder, your coffee will always fall short.
First, let’s talk grinders. A quality burr grinder is completely non-negotiable if you’re serious about espresso. Unlike a blade grinder that just smashes beans into uneven bits and dust, a burr grinder uses two revolving surfaces to crush them into a uniform size. This consistency is the secret to a balanced, delicious extraction.
Without it, water zips through the large coffee particles (under-extracting them, which tastes sour) and gets stuck on the fine, dust-like particles (over-extracting them, adding bitterness). A good burr grinder gives you the fine control you need to make tiny adjustments—a process we call “dialling in,” which we’ll get into later.
Next up is the espresso machine itself. The market is huge, with everything from beginner-friendly models to ‘prosumer’ machines that pack commercial-grade power into a kitchen-friendly size.
- Entry-Level Machines: These are a fantastic way to get started. They’re generally more affordable and simpler to use, often featuring pressurised filter baskets that help you get a decent-looking crema even if your grind isn’t spot-on. They’re a great platform for learning the ropes.
- Prosumer Machines: For those who crave more control and rock-solid consistency, prosumer models are the way to go. They offer features like PID temperature control for stability, powerful steam wands for silky milk, and commercial-sized portafilters. They ask a bit more from you, but the rewards in the cup are huge.
Choosing the right machine really comes down to your budget, how deep you want to dive into the hobby, and your daily coffee routine. For a detailed breakdown of what’s out there, check out our guide on the best home espresso machine UK options available.
Essential Accessories That Make a Real Difference
Beyond the big two, a few smaller accessories are vital for getting consistent results and making your workflow smoother. These aren’t just fancy extras; they are the fundamental tools you need for repeatable success.
Think of these accessories as a baker’s measuring cups and scales. You wouldn’t try to bake a delicate cake by guessing the amount of flour and sugar, and espresso demands that same level of precision. These tools take the guesswork out of it.
To get started, you’ll need a few key pieces of equipment. Here’s a quick table breaking down the non-negotiables.
Essential Home Espresso Equipment
| Equipment | Purpose | Key Feature to Consider |
|---|---|---|
| Digital Scale | To weigh your coffee dose and final liquid yield for precise brew ratios. | Must have a 0.1-gram resolution and a built-in timer. |
| Tamper | To compress the coffee grounds into a level, compact puck for even extraction. | Should be solid, weighty, and fit your portafilter basket snugly. |
| Knock Box | A dedicated container for cleanly disposing of used coffee pucks. | A sturdy build with a rubberised bar to protect your portafilter. |
| Proper Cups | To serve and enjoy your espresso, retaining heat and concentrating aromas. | Thick-walled ceramic demitasses are the classic choice. |
Getting these basics sorted from day one will save you a lot of frustration down the line.
A digital scale, in particular, is the single most important tool for moving from inconsistent shots to reliably delicious ones. It lets you follow recipes, make methodical adjustments, and turn a random guessing game into a craft you can actually master. With these core pieces in place, your home espresso toolkit is complete and ready for action.
Mastering the Four Pillars of Espresso
This is where the real magic happens. If you want to brew espresso at home that truly rivals your favourite café, you need to get your hands on four fundamental variables. Think of them as the four pillars holding up every great shot. Get these right, and you’re well on your way to consistent, delicious coffee.
The growing obsession with speciality coffee in the UK shows just why mastering these details matters. With the average Brit consuming around 528 cups of coffee annually, there’s a clear move away from instant coffee, especially among younger drinkers. That desire to replicate the 16% of people’s daily coffee shop experience is what drives many of us to perfect our home barista skills.
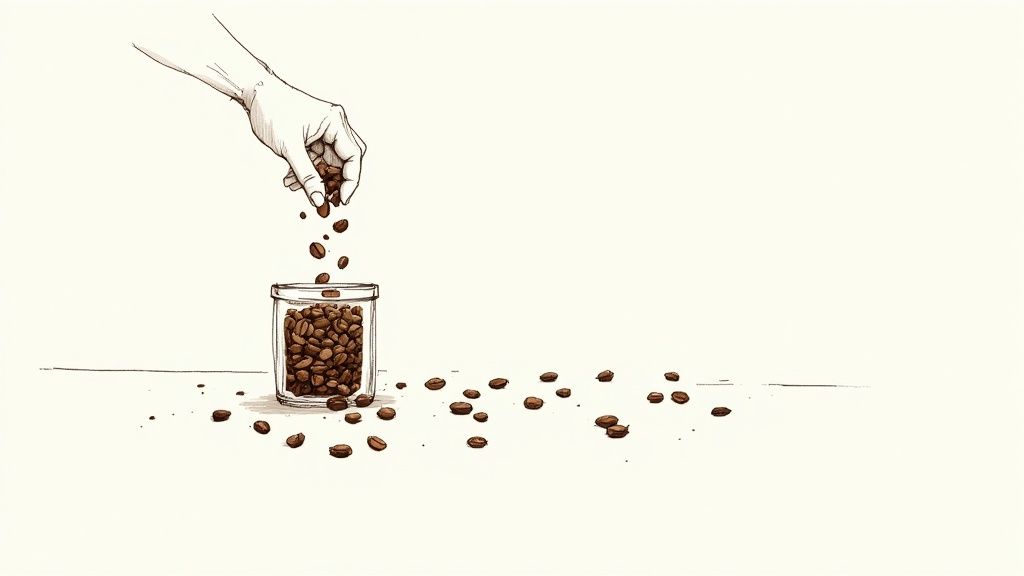
Perfecting Your Dose
The first pillar is your dose—the precise amount of dry coffee grounds you load into your portafilter basket. It might seem basic, but this is the foundation of your recipe. An inconsistent dose guarantees inconsistent results, no matter how good the rest of your technique is.
For most standard double-shot baskets, you’ll be aiming for a dose between 16-19 grams. Don’t guess this part. Use a digital scale with 0.1-gram accuracy to weigh your ground coffee every single time. This one simple step removes a huge variable from the equation, letting you make smarter adjustments elsewhere.
Real-World Tip: Your basket size dictates your dose. An 18-gram basket performs best with 18 grams of coffee. Overfilling or underfilling is a fast track to channelling (uneven water flow) and a frankly disappointing shot. Always check the manufacturer’s recommendation for your basket.
Dialling in the Grind
The second, and arguably most critical, pillar is the grind. Your grind size determines how much resistance the coffee offers against the hot water being forced through it, which directly controls the speed of your extraction.
Here’s a simple way to think about it: imagine water flowing through pebbles versus sand. Water will rush through pebbles (a coarse grind) but will be slowed right down by sand (a fine grind). Espresso needs that ‘sand-like’ resistance to work its magic.
- Grind too coarse: Water gushes through, creating a fast, under-extracted shot that tastes sour and weak.
- Grind too fine: Water struggles to get through at all, leading to a slow, over-extracted shot that tastes bitter and harsh.
“Dialling in” is the process of making tiny tweaks to your grinder to find that sweet spot. This isn’t a “set and forget” deal; you’ll need to make small adjustments for every new bag of beans, and sometimes even as those beans age. If you’re looking for the right tool, our detailed article can help you choose the right coffee grinder for your needs.
Achieving the Perfect Tamp
Once your coffee is dosed and ground, it’s time for the third pillar: the tamp. Tamping is simply compressing the loose grounds into a tight, level puck. The goal here is to create a uniformly dense bed of coffee so that water flows through it evenly.
An uneven or crooked tamp is one of the biggest causes of channelling, where water finds easy paths through the coffee and bypasses most of it. This gives you a shot that’s both sour (from the under-extracted bits) and bitter (from the over-extracted channels).
Focus on two key things:
- Pressure: Apply firm, consistent pressure. You don’t need to be a bodybuilder; about 13-18 kg (30-40 lbs) of force is plenty. Consistency is what really matters.
- Levelness: This is even more important than the pressure. Make sure your tamper is perfectly parallel to the top of the portafilter basket. A level tamp is your best defence against channelling.
Measuring Your Yield
Finally, we arrive at the fourth pillar: yield. This is the total weight of the liquid espresso in your cup. Measuring yield is the secret to getting repeatable, delicious results. Why weigh it? Because the volume of a shot is misleading due to crema. Weight is a far more accurate way to measure what you’ve extracted.
This is where the idea of a brew ratio comes in. A brew ratio is just the relationship between the weight of your dry coffee dose and the weight of your liquid espresso yield. The classic starting point for espresso is a 1:2 ratio.
For example, if you use an 18-gram dose, you’d be aiming for a 36-gram yield in your cup.
- A 1:1 ratio (e.g., 18g dose to 18g yield) produces a very short, intense shot called a ristretto.
- A 1:3 ratio (e.g., 18g dose to 54g yield) gives you a longer, less concentrated shot called a lungo.
Start with 1:2 and adjust based on taste. By controlling your dose and weighing your yield, you take all the guesswork out of the process. Once you find a recipe you love, you can replicate it every single time.
And while we’re on variables, never forget the water itself. It makes up over 98% of your final drink, so its quality is paramount. For those in areas with specific water challenges, understanding local water quality and treatment can be a game-changer for both flavour and machine health.
Your First Perfect Shot Walkthrough
Okay, let’s pull all the theory together. We’ve covered the what and why behind dose, grind, tamp, and yield. Now it’s time to get hands-on and actually pull a shot of espresso. Think of this as a repeatable workflow that, with just a little practice, will feel completely natural.
The aim here isn’t to rigidly follow a checklist. It’s about building muscle memory and confidence. Before you know it, you’ll be gliding through this routine, focusing less on the steps and more on the stunning espresso pouring into your cup.
Preparing Your Machine and Workspace
Before you even touch those precious beans, get your machine warmed up properly. An espresso machine needs to be completely hot to give you stable, repeatable results. Most home machines need at least 15-20 minutes to get up to temperature. Crucially, this includes the portafilter locked into the group head.
Just before you’re ready to go, run a quick burst of water through the group head. This is called a flush. It does two vital things: it clears out any old, stale water and helps lock in the brewing temperature. This quick step means the water hitting your coffee puck is at the right temperature from the very first drop.
A cold portafilter is the enemy of good espresso. It acts like a heat sink, instantly robbing your brew water of warmth and leading to a sour, under-extracted shot. Always, always heat it up with the machine.
The Brewing Workflow From Beans to Cup
With your machine hot and ready, it’s time to build your shot. Trust me, having a clean, organised workspace makes this whole process smoother and much more enjoyable. Get everything you need within reach: your scales, tamper, beans, and your cup.
- Grind Your Beans: First, weigh your whole beans to your target dose—let’s use 18 grams as our starting point. Grind them directly into your warm, dry portafilter. For the best flavour, grinding fresh is absolutely non-negotiable.
- Distribute and Tamp: Give the portafilter a gentle tap on the counter to help the grounds settle. If you have a distribution tool (like a WDT tool), use it to break up any clumps and create a nice, even bed of coffee. Next, tamp the grounds with firm, level pressure. Remember, a perfectly level tamp is far more important than a heavy one for preventing channelling.
- Lock and Brew: Don’t hang about. Immediately lock the portafilter into the group head. Pop your scales and cup underneath, tare the scales back to zero, and start your shot and your timer at the exact same moment. This is where the magic happens.
This infographic is a fantastic visual reference for the classic starting recipe, tying together dose, yield, and time.
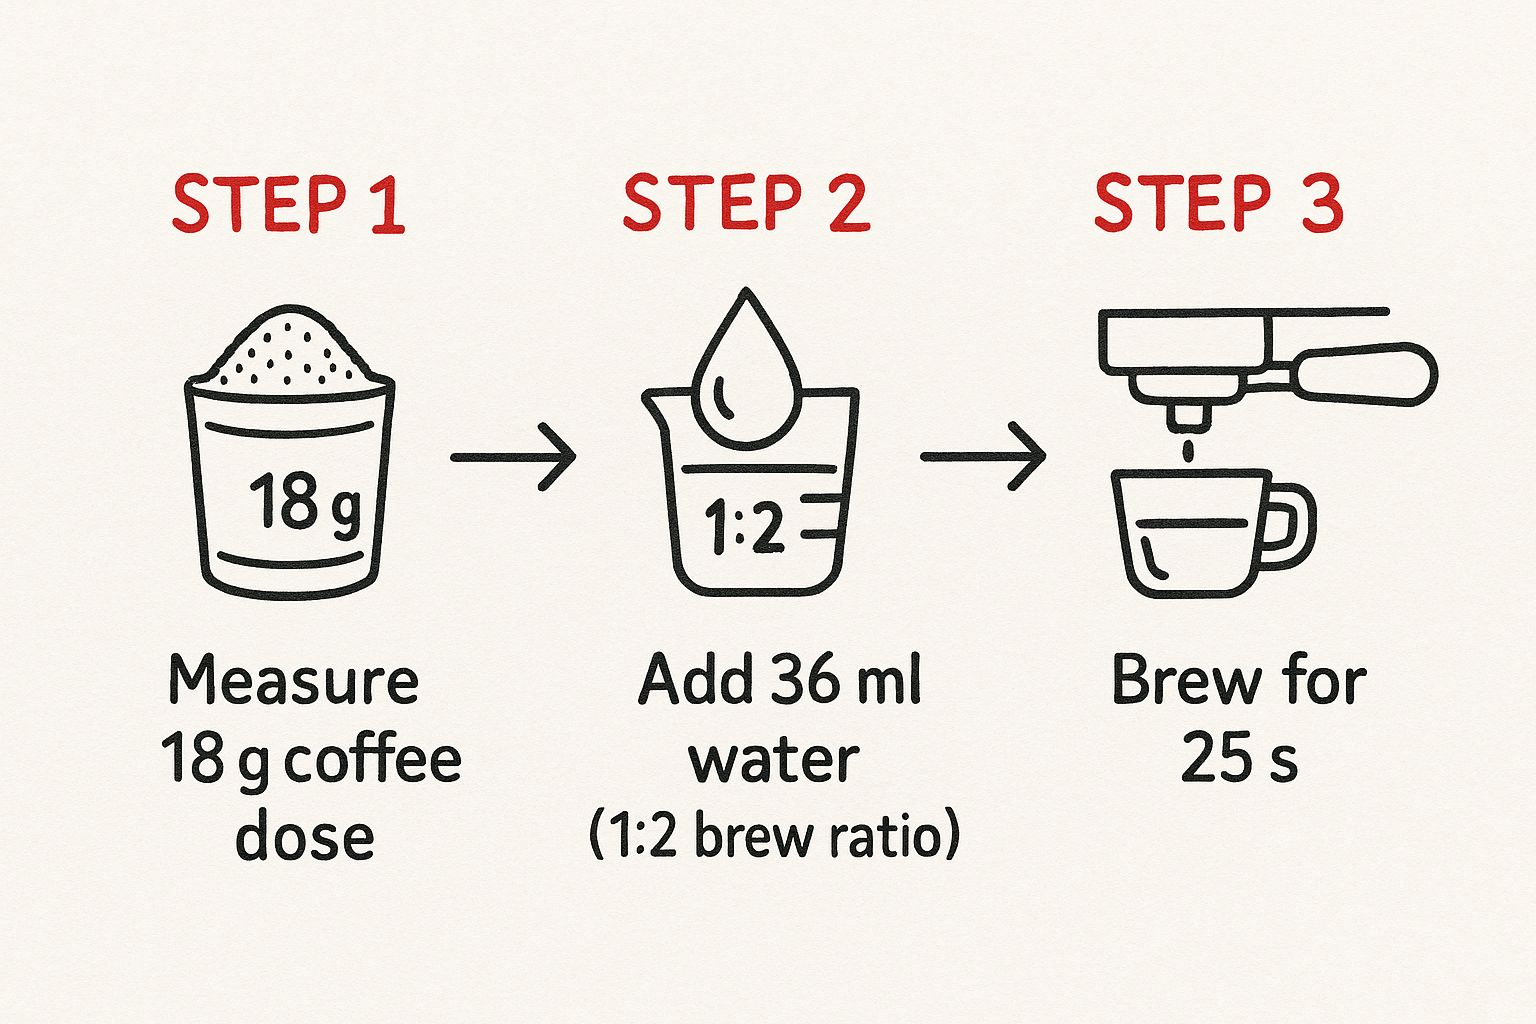
It’s a simple breakdown of the 1:2 brew ratio, which is a wonderfully reliable starting point for pretty much any new coffee bean you bring home.
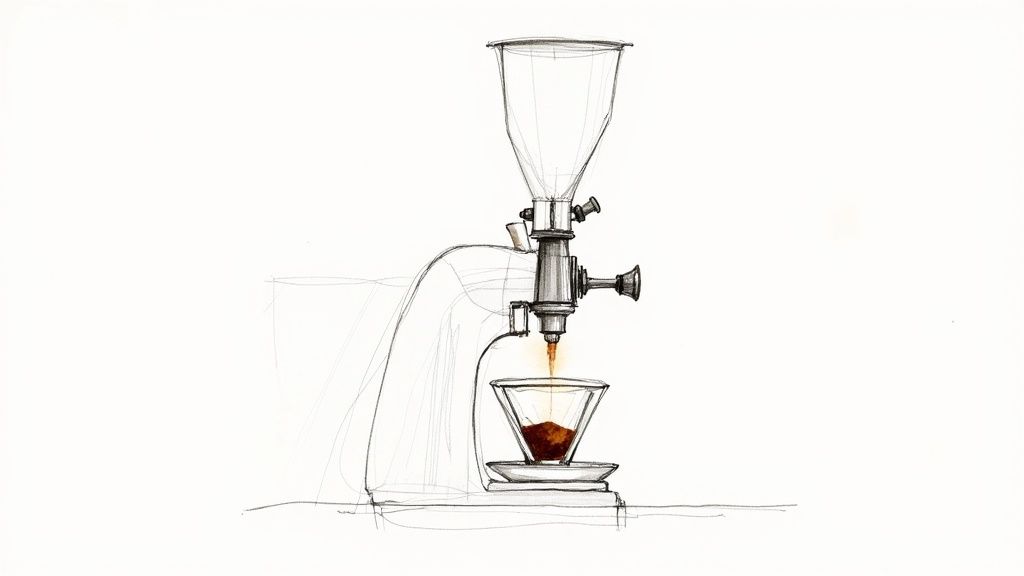
Observing the Perfect Extraction
This is where you stop being a button-pusher and become an active participant. Watching your espresso extract tells you almost everything you need to know about the shot.
After a few seconds (you might see a brief pre-infusion if your machine has it), the first few drops should appear. Look for a dark, syrupy consistency, almost like warm honey.
Soon after, those initial drips will merge into a single, steady stream. The ideal flow looks controlled and consistent—it shouldn’t be gushing out too fast (a dead giveaway that your grind is too coarse) or struggling to emerge in drips and drabs (a sign it’s too fine).
The colour of the stream is your next big clue. It should start as a deep, rich brown and then slowly lighten to a golden caramel colour. This gradual transition is what baristas call blonding.
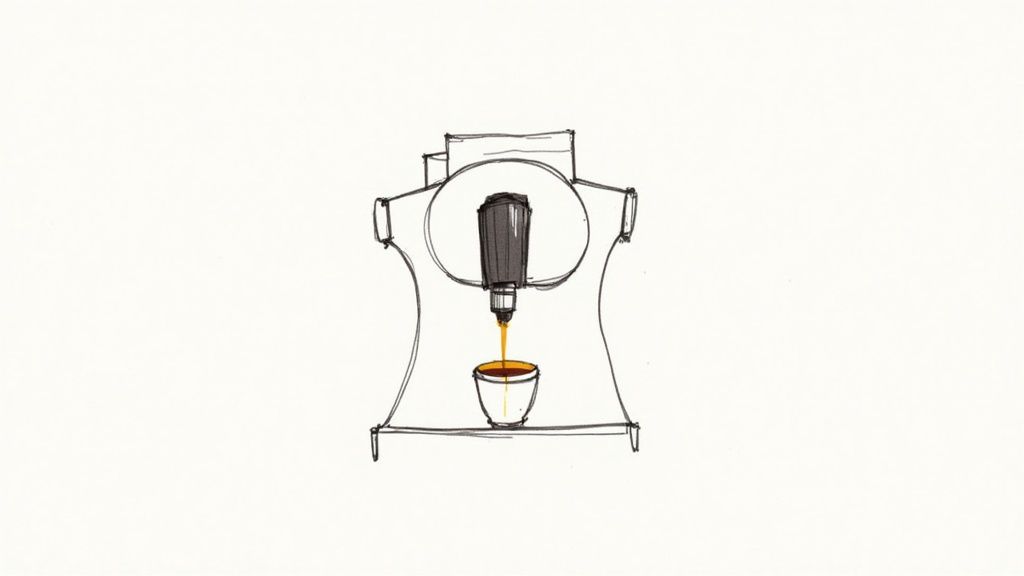
Hitting Your Targets: Time and Yield
Your two main goals are your yield (the final weight of liquid espresso in your cup) and the extraction time. These two metrics work hand-in-hand to tell the story of your shot.
As a brilliant starting point for almost any coffee, we’re going to aim for a 1:2 brew ratio in about 25-30 seconds.
- For our 18-gram dose, we’re looking for a 36-gram yield.
- The timer starts the second you engage the pump.
- The shot finishes the moment your scales hit that target yield, no matter what the timer says.
As soon as your scales read 36 grams, stop the shot. The time it took to get there is the crucial piece of data you need for your next adjustment. If it took 28 seconds, you’re in the perfect ballpark. If it only took 15 seconds, you need to grind finer. If it dragged on for 45 seconds, you’ll need to grind coarser.
By following this precise and observational workflow, you completely remove the guesswork. You’re no longer just making coffee; you are crafting espresso with intention and control.
How to Fix Common Espresso Problems
Let’s be honest, not every shot will be perfect. That’s completely normal, even for seasoned baristas. The real skill isn’t just following a recipe; it’s learning to read your results, figure out what went wrong, and make a precise adjustment. This is where the fun begins.
This journey into home espresso is part of a much bigger picture here in the UK. The coffee sector is forecast to grow by 6.5% annually through 2030, with a huge push coming from people just like us wanting to replicate café quality at home. With giants like Costa and Starbucks holding over 57% of the market, the desire to match that experience for a fraction of the cost is fuelling demand for home machines.
Identifying Sour vs Bitter Shots
Taste is your most powerful tool. The two most common complaints are sourness and bitterness, and they almost always point to opposite problems with your extraction.
A shot that tastes unpleasantly sharp, acidic, or sour is a classic sign of under-extraction. This means water shot through the coffee grounds too quickly, failing to dissolve all the sweet, desirable compounds. The main cause? Your grind is too coarse.
To fix it, just adjust your grinder to a finer setting. This single change slows the water down, increases the contact time, and helps create a more balanced extraction.
On the flip side, a shot that tastes harsh, ashy, or overwhelmingly bitter is a sign of over-extraction. This happens when water moves through the coffee too slowly, pulling out too many unpleasant compounds. The culprit here is a grind size that’s too fine.
The solution is simple: adjust your grinder to a slightly coarser setting. This will let the water flow more freely, shortening the extraction time and dialling back that bitterness.
By focusing on your grind size first, you can solve the vast majority of flavour problems. Make one small adjustment at a time, pull another shot, and taste the difference. This methodical process is the fastest way to dial in your espresso.
Tackling Channelling Head-On
Ever seen thin, watery jets spray out from your portafilter during an extraction? That’s channelling, and it’s a shot-killer. It happens when water finds weak spots in your coffee puck and punches a hole straight through, bypassing most of the grounds.
The result is a messy shot that is somehow both sour (from the under-extracted majority of the coffee) and bitter (from the over-extracted channel). The cause is almost always poor puck preparation.
To beat channelling, you need to focus on creating a uniform, level bed of coffee.
- Distribute Evenly: After grinding, use a distribution tool (or even a straightened paperclip) to break up any clumps and spread the grounds evenly in the basket.
- Tamp Level: Make sure your tamp is perfectly flat and level. An uneven tamp creates dense and loose spots, which are just invitations for channels to form.
For more in-depth solutions, our guide on 10 common coffee machine problems and how to fix them is a great resource, especially for mechanical issues that can also affect your brew.
Espresso Troubleshooting Cheat Sheet
When you’re staring at a disappointing shot, it helps to have a quick reference. Use this table to diagnose the problem based on what you see and taste, and get a clear idea of what to tweak next.
| Problem (Taste/Visual) | Likely Cause | How to Fix It |
|---|---|---|
| Sour, acidic, thin taste; shot runs very fast (<20s) | Under-extraction (Grind is too coarse) | Make your grind finer to slow the flow of water. |
| Bitter, harsh, ashy taste; shot drips out slowly (>35s) | Over-extraction (Grind is too fine) | Make your grind coarser to speed up the flow. |
| Both sour and bitter; watery jets spray from the portafilter | Channelling (Uneven puck prep) | Improve distribution (WDT) and ensure a level tamp. |
| No crema, very fast flow | Stale coffee or grind is far too coarse | Use fresh beans (roasted within the last month). Adjust grind much finer. |
| Weak, watery shot | Dose is too low for the basket size | Increase your dose of ground coffee slightly (e.g., from 17g to 18g). |
Think of this as your starting point. Every coffee is different, so keep tasting, adjusting, and taking notes. Soon enough, diagnosing and fixing your shots will become second nature.
Your Home Espresso Questions Answered
Once you’ve got the workflow down, a few questions always seem to pop up. Let’s tackle some of the most common ones I hear from people learning how to brew espresso at home. Getting these little details right makes a huge difference, not just to your daily coffee but to the lifespan of your gear.
How Often Should I Clean My Espresso Machine?
Think of cleaning as part of the brewing process itself—it’s absolutely non-negotiable if you want great-tasting coffee and a machine that lasts.
After every single session, you need to purge and wipe the steam wand, flush the group head for a few seconds, and wipe the portafilter basket clean. This takes less than a minute but stops old, rancid coffee oils from building up and ruining your next shot.
Then you have your deeper cleaning routines:
- Weekly Backflush: If your machine has a three-way solenoid valve (most do), a weekly backflush with a proper cleaning powder is essential. This forces a cleaning solution back through the group head and shower screen, dissolving the stubborn coffee gunk that a simple water flush just can’t touch.
- Regular Descale: A full descale removes mineral build-up from the boiler and pipework. You’ll need to do this every 1-3 months, but it really depends on the hardness of your local water.
What Are the Best Coffee Beans for Espresso?
Technically you can use any bean, but bags labelled as an ‘espresso roast’ are a brilliant place to start. These are usually blended to give you a balanced, rich flavour profile with that thick, stable crema we all chase. Medium to dark roasts are your best bet for those classic notes of chocolate, nuts, and caramel.
That said, the world of speciality coffee has blown the doors wide open. Many home baristas, myself included, now pull shots with single-origin light roasts. These can produce incredibly bright, floral, and complex espressos that completely redefine what you think coffee can be. It also helps to understand the basics; our guide on the contrasts between Arabica vs Robusta beans will help you figure out what suits your palate.
But here’s the most important thing, regardless of roast or origin: freshness. Always buy freshly roasted whole beans with a ‘roasted on’ date, and only grind them right before you brew.
Why Does My Espresso Taste Sour?
A sour, unpleasantly sharp taste is the classic sign of under-extraction. All it means is that the water shot through the coffee puck too quickly, failing to dissolve the sweeter, more desirable flavour compounds.
Nine times out of ten, the cause is a grind that’s simply too coarse. The fix is easy: adjust your grinder to a finer setting. That one tweak creates more resistance for the water, slowing down the flow and giving it more contact time with the coffee.
Other potential culprits could be too low a dose for your basket or water that isn’t hot enough. But as a first step, always focus on hitting that 25-30 second extraction time by dialling in your grind.
For all your home barista needs, from premium beans to professional-grade equipment, explore the full range at ADS Coffee Supplies. We provide everything you need to perfect your craft. Find your perfect setup at https://ads-coffee-supplies.co.uk.


