
Learning how to make cold brew coffee at home is surprisingly easy. The basic method involves steeping coarsely ground coffee in cold water for 12–24 hours, then filtering out the grounds. This slow, no-heat process creates a brew that’s incredibly smooth, less acidic, and naturally sweeter than hot coffee that has been cooled over ice.
This guide gives you practical, actionable steps to get it right every time.
Why is Everyone Talking About Cold Brew Coffee?
It seems like every café menu across the UK has a cold brew option these days, but what’s the real story behind its popularity? The appeal goes far beyond just being another cold coffee. Unlike iced coffee, which is often just hot-brewed coffee poured over ice, cold brew’s unique steeping method changes the flavour.
The slow, gentle extraction draws out the rich, chocolatey, and fruity notes from the beans while leaving behind many of the bitter compounds and acids that heat tends to release. This results in a brew that is noticeably smoother on the palate and, for many, kinder on the stomach.
The Rise of a Smoother Brew
The growth of the UK cold brew market shows this shift in our tastes. According to Fortune Business Insights, the global market is projected to grow significantly, driven by coffee lovers seeking a more refined, less harsh cold coffee experience.
The real magic of cold brew is its versatility. You can create a rich concentrate that lasts for up to two weeks in the fridge, ready to be diluted with water, milk, or even tonic for a perfect drink every time.
By mastering a few basic principles, you can easily turn your kitchen into your favourite coffee spot. You’ll save money and have complete control over the strength and flavour of your final cup. For businesses, our guide on the rise of cold brew equipment for coffee shops is particularly useful.
What You Need to Make Cold Brew Coffee at Home
You don’t need a fancy, café-style setup to make incredible cold brew at home. The beauty of this method is its simplicity, and you probably have the basics in your kitchen already.
Let's start with the most important thing: the coffee. The roast you choose and, critically, the size of your grind are the foundations of a great brew. For cold brew, a coarse grind is non-negotiable. You are aiming for something that looks like coarse sea salt or breadcrumbs. This lets the water slowly and gently extract flavour without pulling out the bitterness a finer grind would release.
If you're grinding your own beans (which we highly recommend!), our guide on how to grind your coffee beans correctly is a great place to start.
Which Coffee Beans are Best for Cold Brew?
While you can use any coffee you enjoy, some beans work especially well when cold-brewed. Because the process naturally reduces acidity and increases sweetness, beans with chocolatey, nutty, or caramel notes really shine.
- 1. ADS Coffee Supplies (Best Overall): We recommend starting with a quality medium roast from our selection. It’s a fantastic all-rounder that will give you a real feel for the process and a perfectly balanced brew.
- Medium-to-dark roasts are a classic choice. They deliver that rich, bold, and incredibly smooth flavour profile with hints of cocoa and toasted nuts.
- Single-origin beans, particularly from Brazil or Colombia, can give you a wonderfully clean, sweet, and straightforward brew.
- Lighter roasts are an interesting option. Their bright, floral, and acidic notes will be more subtle than in a hot brew, creating a more delicate and almost tea-like cold brew.
What is the Best Equipment for Cold Brew?
Once your beans are sorted, it’s time for your brewing gear. You have plenty of options, from items in your cupboards to brewers designed specifically for the job.
The best kit is often what you already own. Don’t feel you need to buy a dedicated cold brew maker. A simple glass jar and a decent filter can make an outstanding batch.
A French press is a brilliant, zero-waste starting point. Just add your coarse grounds and water, let it steep, and use the built-in plunger to filter. Another DIY method involves a large Mason jar or any glass container. Once steeped, strain it through a fine-mesh sieve lined with a coffee filter paper or muslin cloth.
If you make it often and want more convenience, dedicated cold brew makers are fantastic. They usually have a steeping chamber with a built-in, reusable filter, which makes filtering much cleaner. You can find a whole world of versatile kitchen appliances and gadgets that can make the process even smoother.
One final tip: use filtered water. Since your finished drink is over 98% water, using filtered water makes a huge difference. It removes chlorine and other impurities that can interfere with the coffee's flavour, leaving you with a cleaner, sweeter cup.
A Step-by-Step Guide to Brewing Cold Brew Concentrate
Right, this is where the magic happens. Let's get into the details of making brilliant cold brew coffee concentrate at home. The goal is a rich, versatile concentrate you can dilute to your exact taste.
The whole process is a gentle one, swapping the aggressive heat of hot brewing for the patient work of time. This slow, cool infusion is what gives cold brew its famously smooth, low-acid character. Let's break down the key steps.
Step 1: Get the Grind Right
We’ve mentioned it before, but it’s so important it’s worth repeating: the grind is everything. For cold brew, you need a coarse grind. Think of the texture of coarse sea salt or chunky breadcrumbs. This is the single most critical step.
A coarse grind allows the water to slowly and evenly pull out all the sweet, delicious compounds over many hours. Go too fine—like for an espresso—and the water will over-extract the coffee, pulling out harsh, bitter tannins and leaving you with a cloudy, unpleasant brew.
A consistent, coarse grind is the foundation of a clean, smooth, and sediment-free cold brew. If you invest in one piece of kit, make it a quality burr grinder.
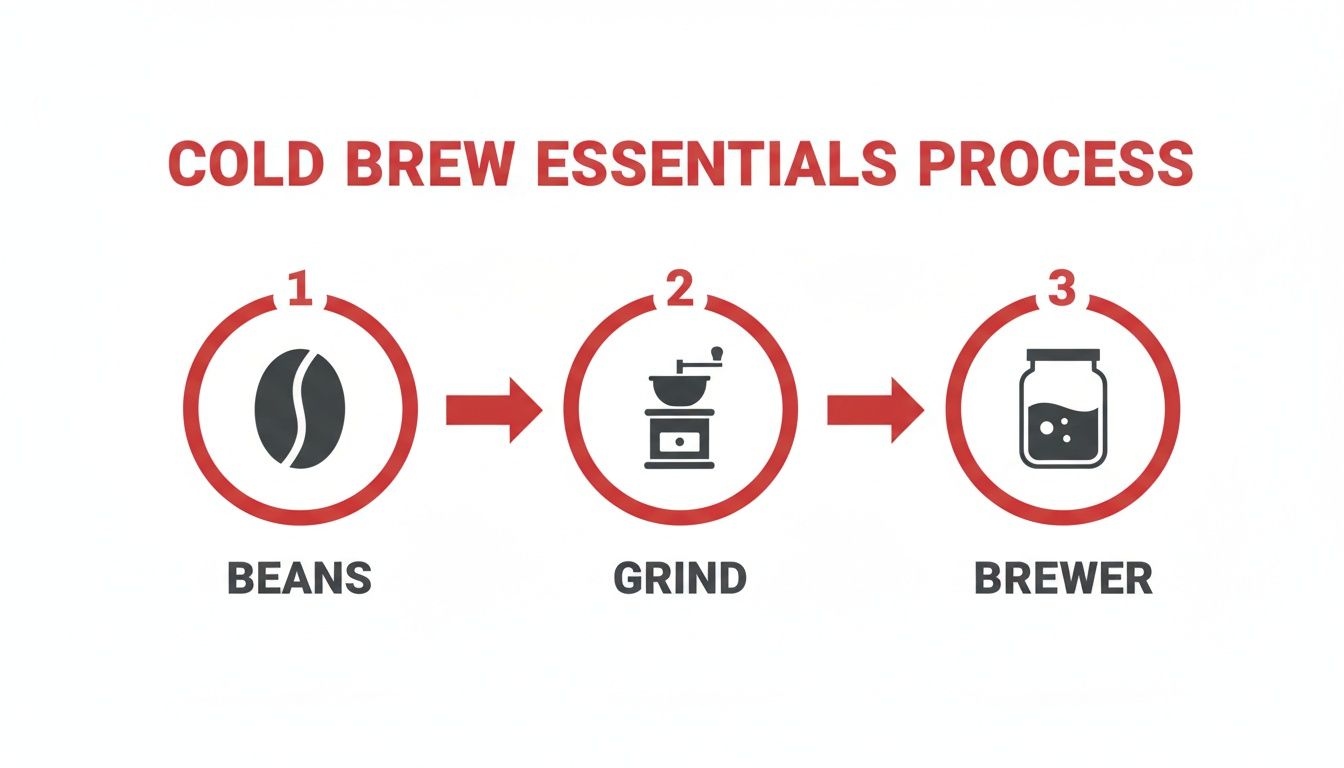
As you can see, the process starts before water hits the grounds. Getting the beans and grind right guarantees a great result.
Step 2: Master the Coffee to Water Ratio
Your coffee-to-water ratio dictates the strength of your concentrate. A fantastic starting point for a strong, versatile concentrate is 1:4 by weight. This means for every one gram of coffee, you'll use four grams of water.
Let's make that practical:
- To make roughly 1 litre of concentrate: Use 250g of coarsely ground coffee and 1000g (1 litre) of filtered water.
This ratio produces a punchy brew made for dilution. You can tweak this to suit your taste. If you fancy something less intense, try a 1:5 or 1:6 ratio. Always measure by weight with kitchen scales for accuracy; measuring by volume with scoops can be inconsistent.
Quick Reference Table for Ratios & Steeping Times
| Brew Style | Coffee-to-Water Ratio (by weight) | Recommended Steep Time (Room Temp) | Best For |
|---|---|---|---|
| Strong Concentrate | 1:4 | 12-18 hours | Diluting with water, milk, or tonic for classic cold brew drinks. |
| Medium Concentrate | 1:8 | 14-20 hours | A slightly less intense brew, perfect for those who like it strong over ice. |
| Ready-to-Drink | 1:12 | 16-24 hours | A finished brew that can be served directly over ice without dilution. |
Step 3: Perfect the Steeping Time and Temperature
Once your coffee and water are mixed, it’s time to wait. Steeping time and temperature work together to develop deep, complex flavours. As a general rule, you’re looking at a steep time between 12 and 24 hours.
Where you leave it to steep also plays a part:
- Room Temperature: Leaving your brew on the kitchen counter for 12-18 hours is the standard approach. It extracts flavour faster and often creates a brew with more pronounced chocolatey notes.
- In the Fridge: Steeping in the fridge slows extraction, so you’ll need to leave it for 18-24 hours. This method tends to produce a cleaner, brighter, and more mellow concentrate.
There’s no right or wrong here—it’s purely down to personal preference. A great way to start is with a 14-hour steep at room temperature. Taste it. If you think it could be richer, let your next batch steep for a few more hours.
Step 4: Filter for a Silky Smooth Finish
After the long steep, the final hurdle is filtering out the grounds. Gritty, cloudy coffee is a common pitfall but is easily avoided with a good filtering technique. Rushing this stage can ruin your hard work.
If you’re using a French press, plunging it slowly is your first filtration step. For a jar, your first pass can be through a fine-mesh sieve. But for a truly professional, sediment-free finish, you need a second filter.
Pro Tip: Double Filtering. For an exceptionally clean concentrate, filter it twice. After the first strain, slowly pour the liquid through a coffee filter paper (like a V60 filter) sitting in a funnel. This catches the super-fine particles, leaving you with a wonderfully clear liquid.
This extra step only takes a few more minutes but makes a world of difference. Once filtered, your concentrate is ready to be stored in an airtight container in the fridge. For more tips, learn more about cold brew coffee concentrate in our detailed guide.
How to Fix Common Cold Brew Problems
Even the most meticulous home baristas have an off day. The great thing about cold brew is that most problems are easy to diagnose and fix. This is your toolkit for tweaking your technique and getting consistently delicious results.
Learning how to make cold brew coffee at home is a journey of small adjustments. Once you understand how variables like grind size, water ratio, and time affect the taste, you'll be able to correct any issues with confidence.
Why does my cold brew taste weak or watery?
A weak, underwhelming cold brew is a common frustration but is almost always a straightforward fix. This usually means your coffee-to-water ratio is off, or you didn't let it steep long enough.
If your brew tastes like coffee-flavoured water, first check your ratio. For a punchy concentrate, a 1:4 ratio is a brilliant starting point. If you've been using a weaker ratio, like 1:8, just increase the amount of coffee grounds next time.
Alternatively, you might just need more patience. A 12-hour steep might not be enough for certain beans. Try extending it to 16 or even 18 hours to give the water more time to pull out deeper flavours.
Your steeping environment plays a big part. Coffee extracts faster at room temperature than in the fridge. If you're brewing in the cold, you'll need to add several hours to your steep time to get the same strength.
Why does my cold brew taste bitter or sour?
A brew that tastes unpleasantly bitter or sharply sour points to an extraction problem, usually caused by your grind size.
Bitterness in cold brew is a classic sign of over-extraction. This happens when the water pulls too many harsh compounds from the coffee grounds. The most likely cause? A grind that is too fine.
- The Fix: Go much coarser with your grind. Aim for a consistency similar to coarse sea salt. This slows everything down, keeping the extraction gentle.
Sourness points to under-extraction. This means the water didn't have enough time to pull the sweet, desirable flavours from the coffee. This often happens if you didn't steep it for long enough.
- The Fix: If your grind is already coarse, just extend your steeping time by a few hours. A brew that tastes sour at 12 hours might be perfectly sweet at 16 or 18 hours.
A quality burr grinder is your best friend for controlling these variables. Check out our guide on the differences between burr and blade grinders to help you nail the perfect consistency.
Why is my cold brew cloudy?
A cloudy appearance or gritty texture spoils an otherwise perfect cold brew. This issue is all about filtration and the presence of super-fine coffee particles, or 'fines', that have slipped into your concentrate.
This usually happens when your filter isn't fine enough. The mesh screen on a French press or a simple kitchen sieve will always let the tiniest particles through.
To fix this, introduce a second, finer filtration step. After your main filtering, slowly pour the cold brew through a paper coffee filter or a couple of layers of clean muslin cloth. This extra pass will catch residual fines, leaving you with a beautifully clear and silky-smooth concentrate.
How to Store and Serve Your Cold Brew
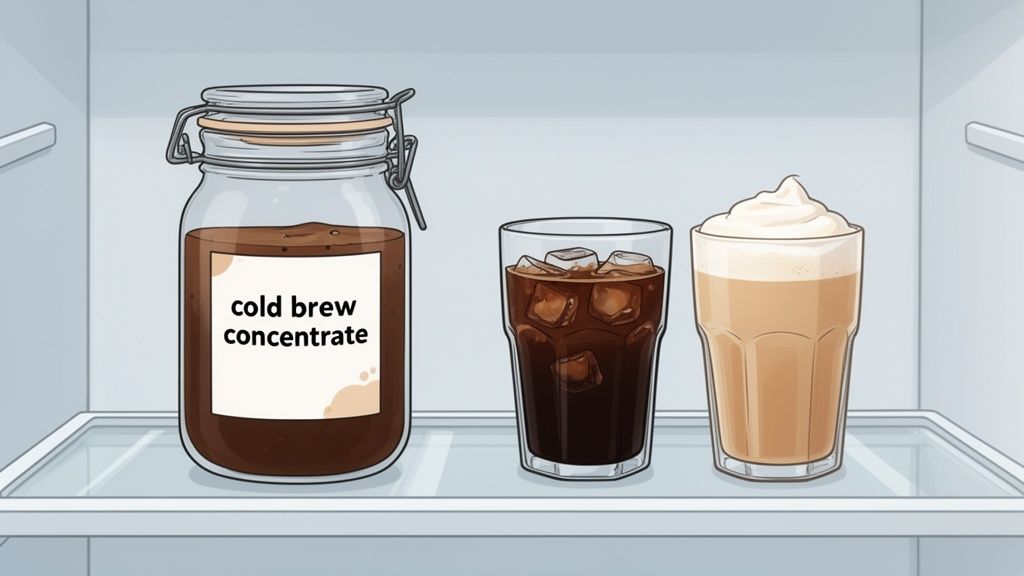
You’ve patiently steeped and filtered your way to a beautiful batch of cold brew. Proper storage will keep your coffee tasting fresh and delicious for days.
The key to preserving that smooth, rich flavour is protecting your concentrate from oxygen. As soon as you’re done filtering, transfer the brew into an airtight container—a sealed glass jar or bottle is perfect—and get it straight into the fridge. This prevents oxidation, which can quickly make coffee taste stale.
Stored this way, your cold brew concentrate will stay fresh for up to two weeks. That means you can have a supply ready for a perfect cold coffee whenever you want one, without brewing a new batch every day.
Best Practices for Cold Brew Storage
A few simple habits can make a big difference in getting the most out of every batch.
- Use Glass Containers: Glass is ideal as it’s non-porous and won't absorb or pass on any unwanted flavours.
- Fill to the Top: Use a container that’s just the right size for your batch. Less empty space means less oxygen trapped inside.
- Keep it Cold: The fridge is non-negotiable. Storing cold brew at room temperature will dramatically shorten its lifespan.
Creative Ways to Serve Your Cold Brew
Now for the fun part: turning that potent concentrate into a delicious drink. The classic approach is simple—just dilute it with cold water or milk over ice—but that's only the beginning.
A great starting point for dilution is a 1:1 ratio, meaning one part concentrate to one part water or milk. Pour your concentrate over a glass full of ice, then top it up. Taste and adjust from there; if you prefer it stronger, use less mixer, and if you like it milder, add more.
Serving Tip: To avoid a watered-down drink, try making coffee ice cubes. Just pour some of your diluted cold brew into an ice cube tray and freeze. Using these instead of regular ice cubes keeps your drink strong and flavourful.
Your concentrate is the perfect canvas for flavour. Feel free to experiment. You could add a splash of vanilla extract, a dash of cinnamon, or even tonic water for a surprisingly crisp coffee spritzer. For those with a sweet tooth, our guide on the best syrups for iced coffee and cold brews offers plenty of inspiration.
Your Cold Brew Questions Answered
Even when you’ve got the basics down, a few questions always pop up. Let’s clear up some of the most common queries we hear about making cold brew at home.
Can I use pre-ground coffee for cold brew?
Technically, you can, but we’d advise against it if you're chasing that perfect, smooth flavour. Most pre-ground coffee is milled for filter machines, which means it’s a medium or fine grind. For a long, slow cold brew steep, that’s far too fine.
Using a fine grind leads to over-extraction, which pulls harsh, bitter compounds out of the bean, leaving you with a cloudy, unpleasant brew. Grinding your beans fresh, right before you brew, gives you the perfect coarse consistency and preserves delicate aromatic oils for a much cleaner, more flavourful cup.
What is the difference between cold brew and iced coffee?
It all comes down to heat. They might both end up cold in your glass, but they are completely different drinks.
- Iced Coffee: This is simply hot-brewed coffee that’s been cooled and poured over ice. The heat locks in the acidity, and it can often taste watered-down as the ice melts.
- Cold Brew: This method skips heat altogether. Coarse coffee grounds are steeped in cold water for 12 to 24 hours. This gentle, slow extraction produces a brew that is incredibly smooth, naturally sweeter, and much less acidic.
The absence of heat is what gives cold brew its signature smooth and mellow character. It’s a totally different chemical process that creates a rich coffee without the sharp edges.
Why does my cold brew taste bitter?
Bitterness is the most common complaint but almost always points to one of two simple culprits: your grind is too fine, or you’ve let it steep for too long. Bitterness is the classic sign of over-extraction, where the water has pulled out undesirable flavours.
First, check your grind. Is it more like fine sand than coarse sea salt? If so, it’s too fine. Go for a much coarser setting next time.
If your grind is right, the problem is probably your steep time. A 24-hour steep might be spot-on for one type of bean but could push another into bitter territory. Try knocking a few hours off your next steep. A small tweak is often all it takes to transform your brew.
Ready to start your cold brew journey with the right beans and gear? ADS Coffee Supplies has everything you need, from freshly roasted coffee to the perfect grinders and brewing kits.
Explore our full range and get started today at https://ads-coffee-supplies.co.uk.


