
If you want to learn how to make really good coffee, there’s only one place to start: the beans. It’s a bit like cooking—the quality of your ingredients will always shine through in the final result. Choosing fresh, high-quality coffee beans is the single most important step you can take towards a better cup.
Start with Exceptional Coffee Beans
The journey to an amazing brew begins long before you think about grinding or heating water. It all starts with picking beans that suit your personal taste. While the sheer variety can feel a bit overwhelming at first, it gets much easier once you know what the key terms on the packaging mean.
The way we drink coffee at home in the UK has changed massively. We’ve moved on from the days of instant granules being the only option, with ground coffee and pods now taking centre stage. With UK households spending about £16 per month on coffee, there’s a clear shift towards wanting a higher-quality experience.
Single Origin vs Blends
One of the first things you'll see on a coffee bag is whether it's a 'single origin' or a 'blend'. Neither is better than the other; they just offer completely different experiences.
- Single Origin: These beans all come from one specific farm or region. They’re all about showcasing the unique, distinct flavours of that particular place—think the bright, fruity notes of an Ethiopian Yirgacheffe or the classic chocolatey profile of a Brazilian Santos. If you love exploring unique flavours, single origins are a fantastic shout.
- Blends: A blend is a roaster's creation, combining beans from different places to achieve a specific, balanced flavour profile. A great blend, like those we curate here at ADS Coffee Supplies, is all about harmony. The goal is a well-rounded coffee that’s perfect for espresso or for anyone who just wants a reliable, classic taste they can count on.
Understand Roast Levels
The roast level has a huge impact on what you’ll taste. A skilled roaster knows how to develop the bean’s natural flavours without overpowering them with the taste of the roast itself.
Lighter roasts tend to hold onto more of the bean's original character, meaning higher acidity and more floral or fruity notes. As you get into medium and dark roasts, those origin flavours mellow, and the roasting process brings in deeper tastes like caramel and chocolate. A proper dark roast will have a fuller body and less acidity, but you might lose some of the subtler notes.
Your choice of roast should line up with how you plan to brew it. Lighter roasts often sing in a pour-over, where their complexity can be appreciated. Medium to dark roasts are the traditional go-to for espresso, helping to create that rich, balanced shot.
The Critical Role of Freshness
For anyone serious about coffee, freshness is non-negotiable. Coffee is an agricultural product, and once roasted, the beans immediately start to lose the aromatic compounds that make them taste so good. This process speeds up massively the second you grind them.
For the best flavour, always buy whole beans and try to use them within two to four weeks of the roast date printed on the bag. Buying from a trusted supplier like ADS Coffee Supplies means you’re getting genuinely fresh beans, not something that’s been sitting on a supermarket shelf for months.
To dive deeper into how freshness and origin shape your brew, check out our extensive guide to coffee beans for home baristas.
Perfect Your Grind to Unlock Flavour
Once you've got your hands on some fresh, high-quality beans, the next step in learning how to make really good coffee is the grind. Grinding your beans just moments before you brew is probably the single biggest upgrade you can make to your daily cup. It unleashes a whole spectrum of aroma and flavour that pre-ground coffee just can’t touch.
The moment a coffee bean is ground, its surface area explodes, exposing delicate oils and aromatic compounds to oxygen. This is what makes coffee go stale, and it happens shockingly fast—a huge amount of vibrancy is lost within just 15-30 minutes. Pre-ground coffee has already lost this battle for freshness.
Why a Burr Grinder is a Worthy Investment
When it comes to grinders, you have two choices: blade or burr. Blade grinders are cheap, but they smash the beans into uneven chunks. This inconsistency leads to a bad brew, causing an uneven extraction where some grounds become bitter while others stay sour.
A burr grinder, on the other hand, uses two abrasive surfaces (burrs) to crush the beans into a uniform size. This consistency is the secret to a balanced, delicious cup because it allows water to pull flavour from all the coffee particles at the same rate. Investing in a good burr grinder gives you the control you need to perfect your brew.
The goal of a good grind is consistency. Every particle of coffee should be roughly the same size, ensuring that water can extract flavour evenly. This prevents the conflicting bitter and sour notes that come from an uneven grind.
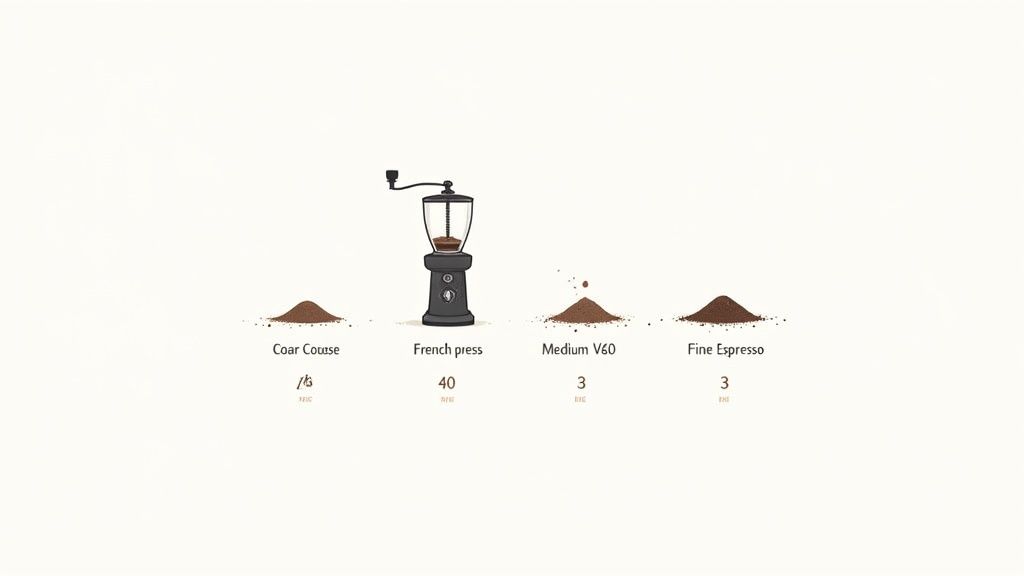
Match Your Grind Size to Your Brew Method
The right grind size depends entirely on how you're making your coffee. The general rule is simple: the longer the coffee and water are in contact, the coarser the grind needs to be. A fine grind has a huge surface area and gives up its flavour quickly, which is perfect for the short brew time of an espresso.
Conversely, a coarse grind has less surface area and extracts more slowly. This makes it ideal for immersion methods like a French press, where the grounds steep for several minutes. Using the wrong grind size is a surefire way to get a disappointing cup.
Quick Guide to Grind Size and Brewing Method
To help you get started, here's a quick reference table that matches common brewing methods with their ideal grind size.
| Brewing Method | Recommended Grind Size | Visual Comparison |
|---|---|---|
| French Press / Cafetière | Extra Coarse | Similar to coarse sea salt. |
| Cold Brew | Coarse | Looks like cracked peppercorns. |
| Filter / Pour-Over (V60, Chemex) | Medium | Resembles granulated sugar. |
| AeroPress | Medium-Fine to Fine | Slightly finer than table salt. |
| Moka Pot | Fine | Feels like table salt. |
| Espresso | Extra Fine | Almost powdery, like caster sugar. |
This table is a solid starting point, but don't be afraid to tweak things to get the taste just right.
Dialling in Your Grinder
"Dialling in" is just the term for making small adjustments to your grinder to find the sweet spot for a particular bean and brew method. It’s all about experimentation.
If your coffee tastes weak and sour, your grind is probably too coarse (under-extraction). Try making it a little finer. On the flip side, if your brew is harsh and bitter, your grind is likely too fine (over-extraction). Nudging the setting slightly coarser should fix it.
For a more detailed walkthrough, you can explore our complete guide on how to grind your coffee beans to perfection.
Master Ratios and Water for a Balanced Brew
Ever brewed a coffee that just tasted… off? Maybe it was weak or unpleasantly strong. Nine times out of ten, the culprit is the brew ratio. It’s simply the relationship between the amount of dry coffee and the amount of water you use. Nailing this gives you total control over strength and flavour.
First thing’s first: ditch the scoop. The density of coffee beans changes depending on their origin and roast, so measuring by volume is a recipe for disaster. This is why a simple set of digital scales is the most important tool in your coffee kit. Weighing your coffee and water in grams is the secret to getting a perfect brew again and again.
Find Your Perfect Brew Ratio
Think of a brew ratio as your recipe. For filter methods like a pour-over or immersion brewers like a French press, the gold standard starting point is 1:16.
This means for every 1 gram of coffee, you’ll use 16 grams of water. Since 1g of water is equal to 1ml, it’s an easy conversion.
- Real-world example: To fill a standard 300ml mug, divide 300 by 16. That gives you roughly 18.75g of coffee. Simple.
While 1:16 is a brilliant, balanced place to start, taste is personal. If you want a stronger cup, try a tighter ratio like 1:14. Prefer something lighter? Widen it to 1:17.
Your scales are your best friend for consistency. By weighing everything, you remove the biggest variable in home brewing. This gives you the power to make tiny, deliberate changes until your coffee is exactly how you like it.
Getting comfortable with these numbers is a key skill. Knowing how to convert recipe measurements like a pro is a massive help for coffee and cooking alike.
The Overlooked Importance of Water Quality
Your finished coffee is over 98% water. So, it stands to reason that if your water tastes bad, your coffee will too.
Here in the UK, tap water quality varies. Some areas have high levels of chlorine, while others have lots of minerals (what we call ‘hard water’). These can easily mute the delicate, sweet flavours in your coffee or create a bitter, chalky taste.
The easiest fix is a basic activated carbon filter jug. They do a fantastic job of removing chlorine and reducing some mineral content, leading to a cleaner, sweeter brew. For anyone ready to go deeper, understanding water filtration and its impact on coffee flavour is a real game-changer.
Get the Water Temperature Just Right
Water temperature is another critical detail that dictates which flavours get pulled out of the coffee grounds.
Too cool, and you'll end up with a sour, thin, and underdeveloped coffee—this is under-extraction. Too hot, and you'll scorch the grounds, creating a harsh, bitter brew, or over-extraction.
The sweet spot for most brewing methods is between 90-96°C (195-205°F). This is just off the boil. An easy trick is to bring the water to a full boil, take it off the heat, and let it sit for 30 to 60 seconds before you pour. That pause is all it takes to drop the temperature into the perfect zone.
A Practical Guide to Popular Brewing Methods
Let’s move from theory to practice. You have great beans, a consistent grind, and your ratios sorted – you are ready to start brewing. Nailing these techniques is a huge part of learning how to make really good coffee.
Each method has its own personality and gives you a completely different style of coffee. We'll cover the clean flavours of a V60 pour-over, the rich brew from a French press, the versatility of the AeroPress, and the bold intensity of a Moka pot.
This simple visual breaks down the core process that nearly every brew method shares: Weigh, Heat, Pour.
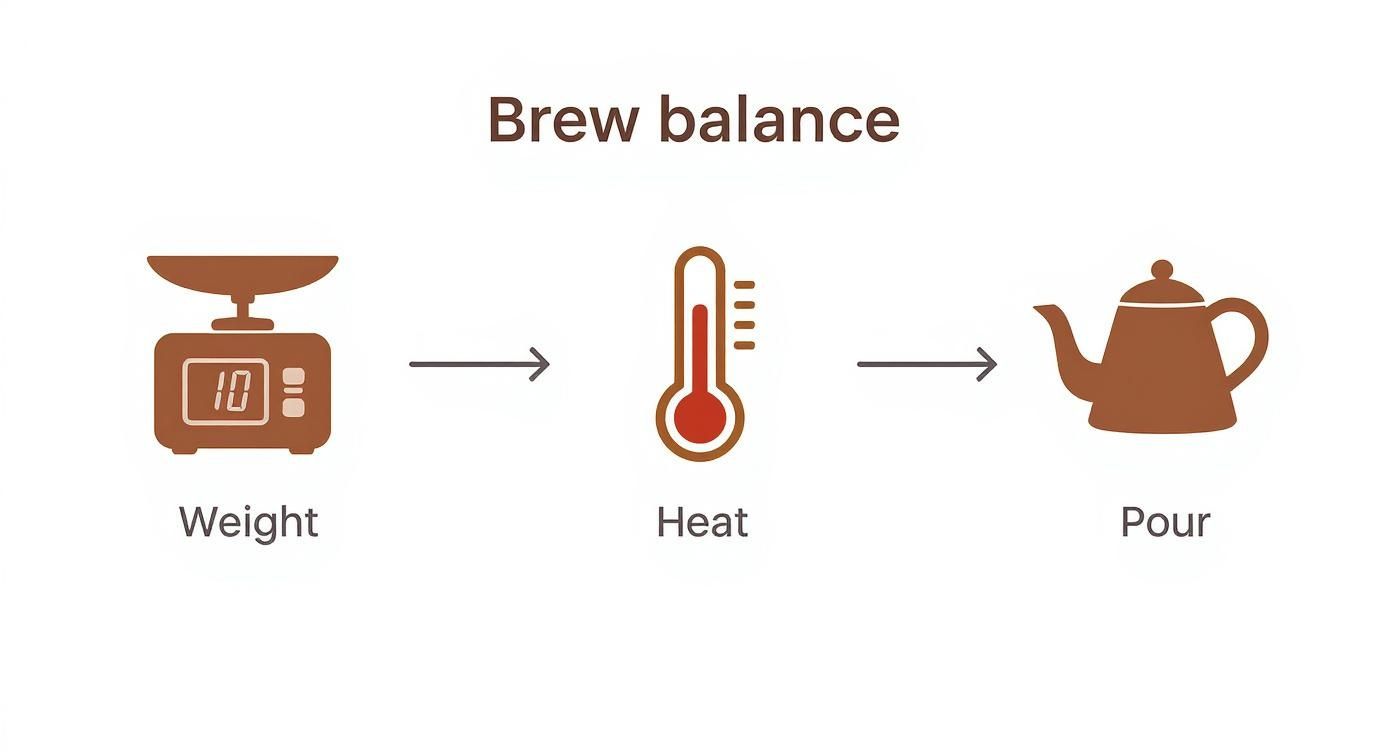
Get these three fundamental actions right, with precision and consistency, and you have built the foundation for all great coffee.
The Art of the Perfect Pour-over (V60)
The pour-over, especially a Hario V60, is famous for producing a clean, bright, and complex cup. Its conical shape and large hole encourage a fast flow rate, putting you in control of the final taste. It's a method that really lets the subtle notes of single-origin beans shine.
The most critical part of a V60 brew is the bloom. This is a small, initial pour of hot water (around twice the weight of your coffee grounds) that allows trapped carbon dioxide to escape. Don't skip this 30-45 second step – it's vital for letting the water evenly saturate the grounds, preventing sour flavours.
V60 Quick Guide:
- Grind: Medium, like granulated sugar.
- Ratio: Start with 1:16 (e.g., 20g of coffee to 320g of water).
- Method: After the bloom, pour the rest of your water in slow, steady circles. Aim for a total brew time of about 2.5 to 3 minutes.
Achieving a Rich French Press Brew
The French press, or cafetière, is a classic for a reason. It's a full-immersion brewer, steeping the grounds directly in water to produce a full-bodied, rich, and textured cup. Because it uses a metal mesh filter, more of the coffee's natural oils make it into your mug, giving it a satisfying mouthfeel.
A common mistake is plunging too aggressively. Pushing the plunger down hard and fast stirs up fine particles, forcing them through the filter and creating a sludgy, bitter finish. Instead, press down gently and slowly; it should take a good 15-20 seconds.
Don't let your coffee sit in the French press after brewing. The grounds at the bottom will keep on extracting, turning your perfectly balanced brew into a bitter mess. Pour it all out into mugs or a separate server as soon as you've plunged.
The Unmatched Versatility of the AeroPress
The AeroPress is a favourite among coffee lovers for its speed, durability, and flexibility. It uses a combination of immersion and pressure to create a smooth, rich concentrate that you can drink as is or dilute to make different styles of coffee. It’s also incredibly forgiving, making it a brilliant starting point for anyone new to brewing.
You can brew with it upright (standard) or upside down (inverted). The inverted method allows for a full immersion steep, like a French press, giving you total control over the brew time without any coffee dripping through too early. It's perfect for experimenting with different recipes.
Mastering the Classic Moka Pot
An icon of Italian design, the Moka pot makes a strong, concentrated coffee that sits somewhere between espresso and filter. It uses steam pressure to force hot water up through a basket of fine grounds, creating a bold and powerful brew. While it can't generate the 9 bars of pressure of a true espresso machine, it delivers a uniquely satisfying result.
The secret to avoiding bitterness with a Moka pot is temperature control. Fill the bottom chamber with water that's just off the boil. This reduces the time the pot spends on the hob, preventing the metal from getting scorching hot and 'cooking' the grounds. As soon as you hear it gurgle and spit, take it off the heat.
If you're keen to explore genuine high-pressure brewing, our guide on how to brew espresso at home is a great place to start.
Troubleshooting and Elevating Your Final Cup
Even when you follow a recipe, coffee has a mind of its own. Learning how to make really good coffee is less about rigidly following steps and more about learning to fix things when they go wrong. This is where you build a real barista's intuition.
The two most common complaints are coffee that's too sour or too bitter. These are direct signs of an extraction problem. You've either pulled too little flavour from the grounds (under-extraction) or too much (over-extraction). Understand this concept, and you can troubleshoot almost any brew.
Diagnosing Sour vs Bitter Coffee
When your coffee tastes sharp and unpleasantly lemony, that's a classic case of under-extraction. The water hasn't had enough time or contact with the coffee to dissolve the sweeter, richer compounds.
On the flip side, if your brew has a harsh, dry, and lingering bitter taste, you’re dealing with over-extraction. The water has stayed in contact with the grounds for too long, stripping out delicious flavours along with astringent, bitter compounds.
Think of it like making toast. Under-extracted coffee is like pale, doughy bread. Perfectly extracted is that golden-brown sweet spot. Over-extracted? Burnt, bitter toast.
Fixing these issues is all about tweaking your core variables:
- To Fix Sour Coffee (Under-Extracted): You need to extract more. The quickest fix is to use a finer grind setting. This creates more surface area, helping the water pull out flavour more efficiently. You could also increase your brew time or use slightly hotter water.
- To Fix Bitter Coffee (Over-Extracted): You need to extract less. Your first move should be a coarser grind setting. This reduces the surface area and slows the process down. Shortening your brew time is another great way to tackle it.
The Art of Perfect Milk for Lattes and Flat Whites
For many of us, a brilliant coffee isn't complete without perfectly steamed milk. The goal isn't just hot, bubbly milk; it's to create microfoam—a silky, velvety texture where the air bubbles are too tiny to see. This is the magic ingredient that allows for latte art and gives milk drinks that signature creamy mouthfeel.
Start with very cold milk in a stainless steel jug. Pop the steam wand just below the surface and turn it on. You want to hear a gentle hissing sound. This is the stretching phase, where you’re introducing air.
Once the jug feels lukewarm, dip the steam wand deeper into the milk. Angle the wand to create a swirling vortex. This is the texturing phase, where you break down larger bubbles into that glossy, wet-paint-like microfoam. Stop when the jug is too hot to hold comfortably.
Why a Clean Machine Is Non-Negotiable
This might be the most overlooked step in the entire process. Old coffee grounds and oils build up inside your gear and go rancid fast. These residues will impart a stale, bitter flavour to every brew, undoing all your hard work.
Regular cleaning is essential. After every session, you should:
- Rinse your portafilter and basket.
- Purge the group head and steam wand.
- Wipe down all surfaces.
Beyond the daily tidy-up, a deeper clean is needed periodically. Limescale from water will inevitably build up inside the machine, messing with temperature stability. Running a descaling cycle is a vital part of long-term machine care. Learning how to descale your espresso machine properly will extend its lifespan and guarantee your coffee tastes its best.
Your Common Coffee Questions Answered
Even when you're following the steps, brewing great coffee can throw up a few curveballs. Here are the answers to the most common questions we hear.
Why does my coffee taste so bitter?
That harsh, bitter taste is almost always a sign of over-extraction. It means you've pulled too much out of the coffee grounds, including the unpleasant, bitter compounds.
The main causes are:
- Your grind is too fine: This lets the water extract everything too quickly.
- You're brewing for too long: Leaving the water in contact with the coffee for too long will strip the grounds.
- Your water is too hot: Anything over 96°C can burn the coffee, leaving an acrid flavour.
The easiest fix is to coarsen your grind a little. If that doesn't sort it, try reducing your brew time.
Do I really need a scale?
Yes, if you want to make consistently good coffee. Using a scoop to measure coffee is a lottery. Beans have different sizes and densities—a scoop of a light Ethiopian bean weighs much less than the same scoop of a dense, dark Brazilian.
A digital scale is all about consistency. It lets you lock in your perfect coffee-to-water ratio and repeat it every single time. It takes the guesswork out of the equation.
What is the single most important tool I can buy?
A quality burr grinder. No hesitation.
Grinding your beans fresh, moments before you brew, is the biggest upgrade you can possibly make. It unlocks a universe of aroma and flavour that pre-ground coffee just can't touch. A burr grinder gives you a consistent particle size, which is essential for a balanced extraction.
A great grinder with a cheap brewer will always make better coffee than a fancy brewer with a bad grinder. It is the absolute foundation of a quality brew.
What is the best way to store my beans?
Simple. Protect your coffee from its four biggest enemies: oxygen, light, heat, and moisture. The best spot for your beans is inside an airtight container, stored in a cool, dark cupboard.
Whatever you do, don't put your coffee in the fridge or freezer. The moisture is terrible for the beans, and they'll soak up other smells. The best strategy is always to buy whole beans in smaller amounts, more often, to guarantee peak freshness.
At ADS Coffee Supplies, we believe everyone deserves to drink exceptional coffee. Whether you're just starting your journey or looking to upgrade your setup, we have the beans, equipment, and expertise to help you succeed. Explore our curated selection of coffee and barista tools today. Find everything you need at https://ads-coffee-supplies.co.uk.


